Wednesday, March 24, 2010
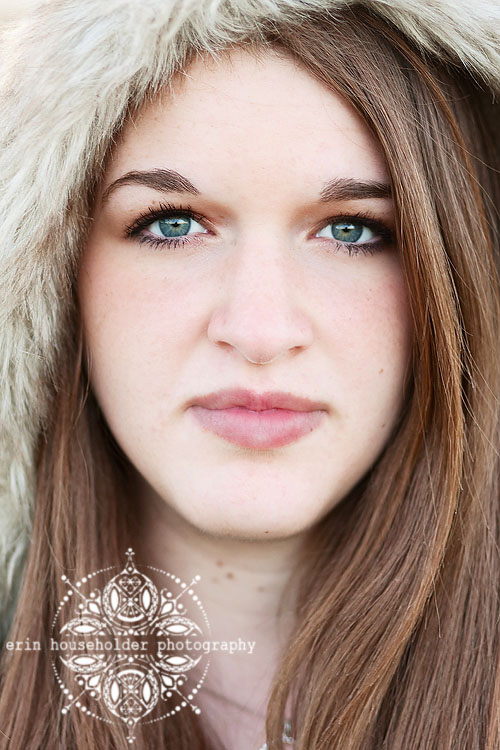
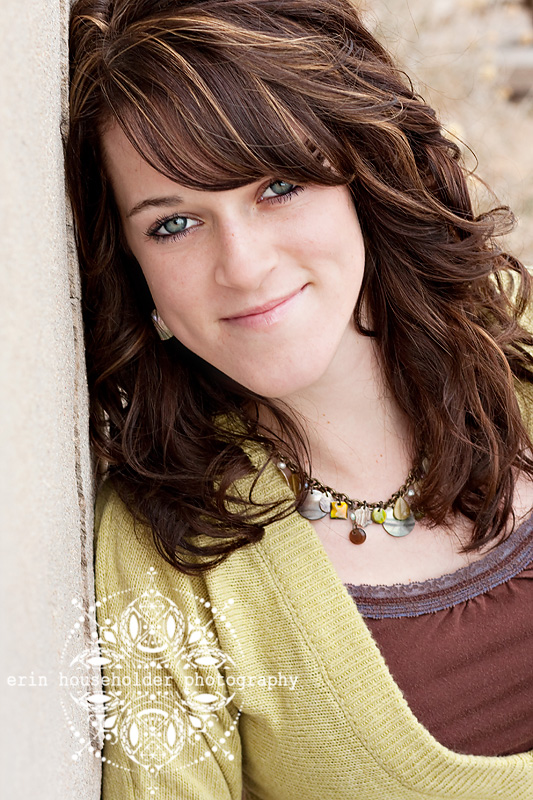
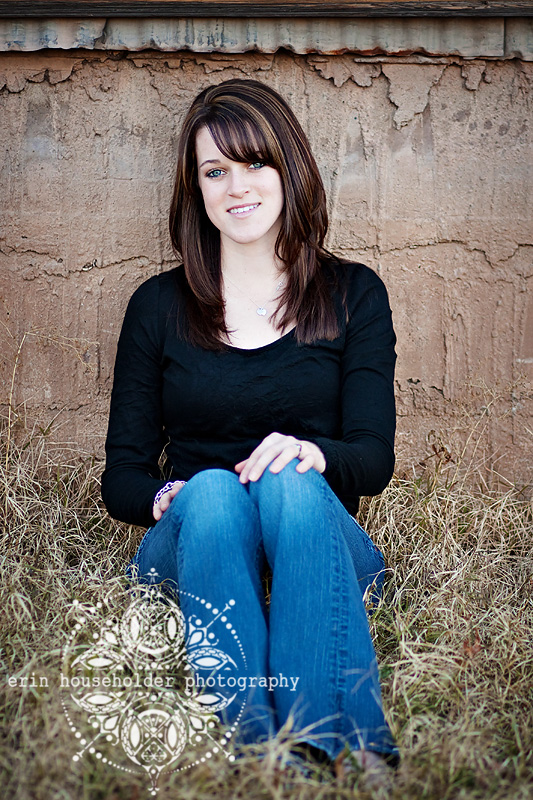
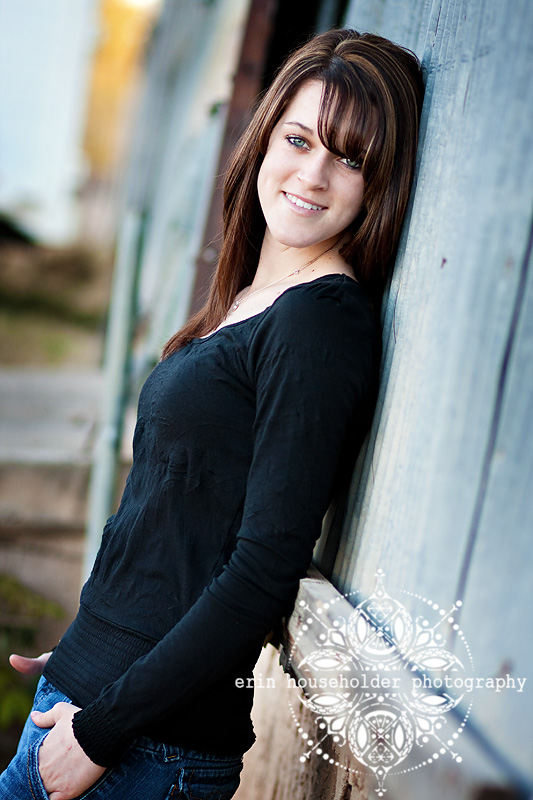
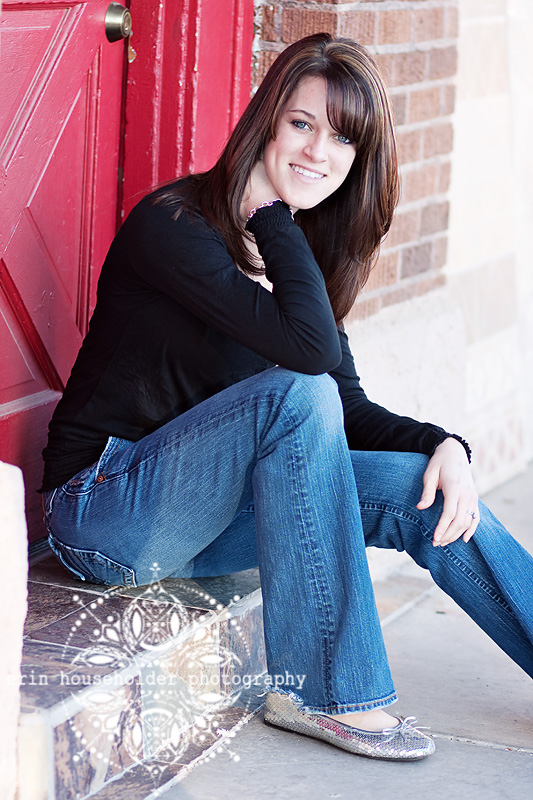
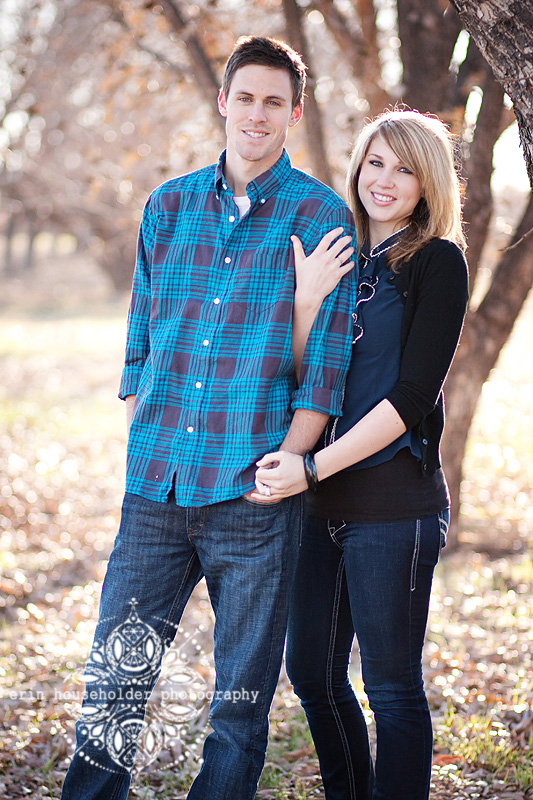
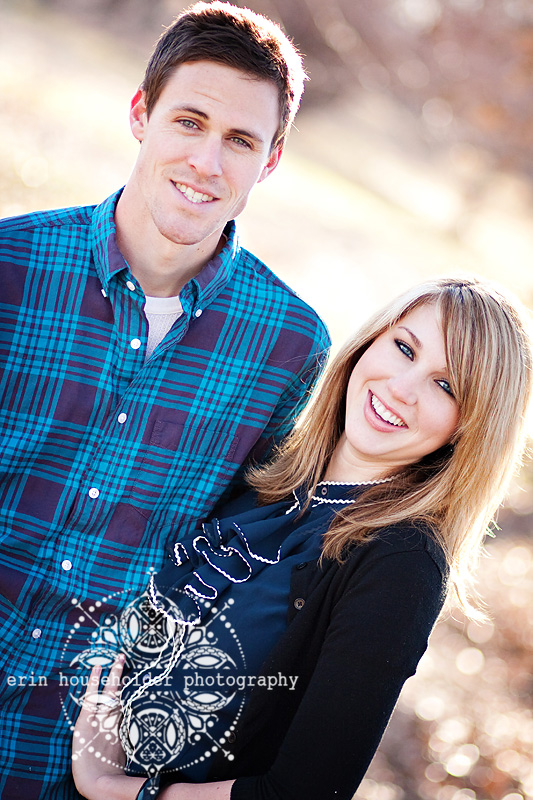
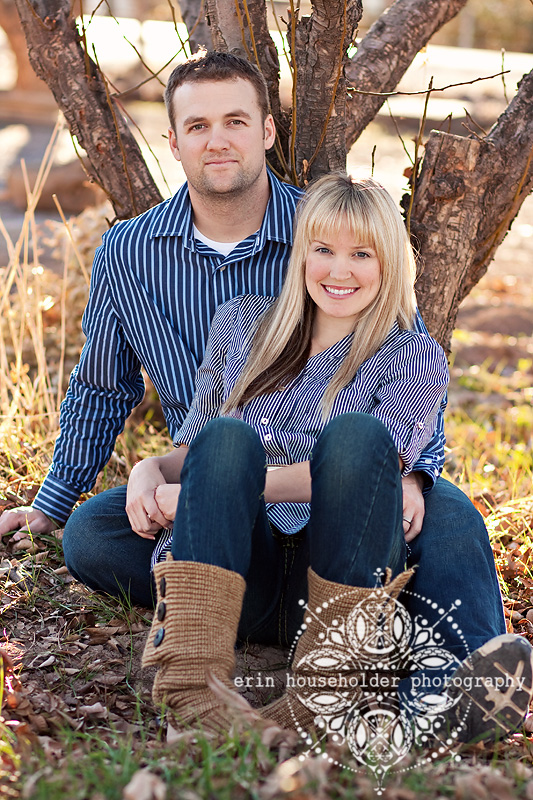
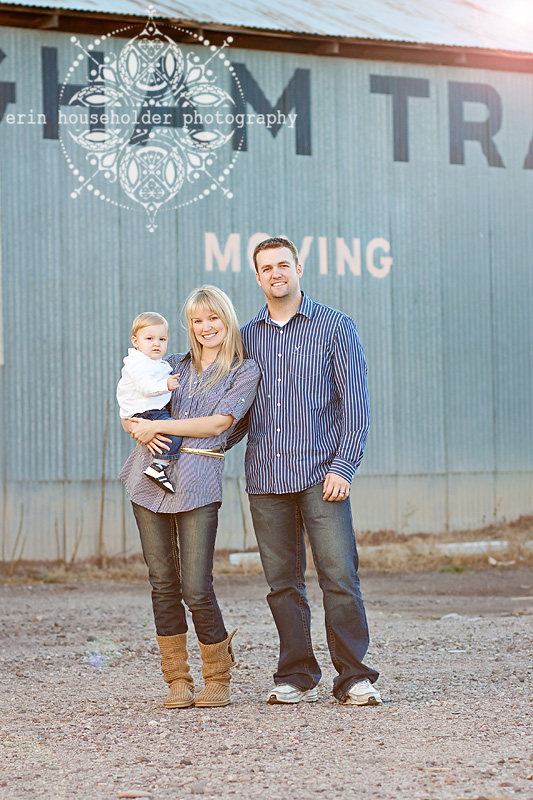
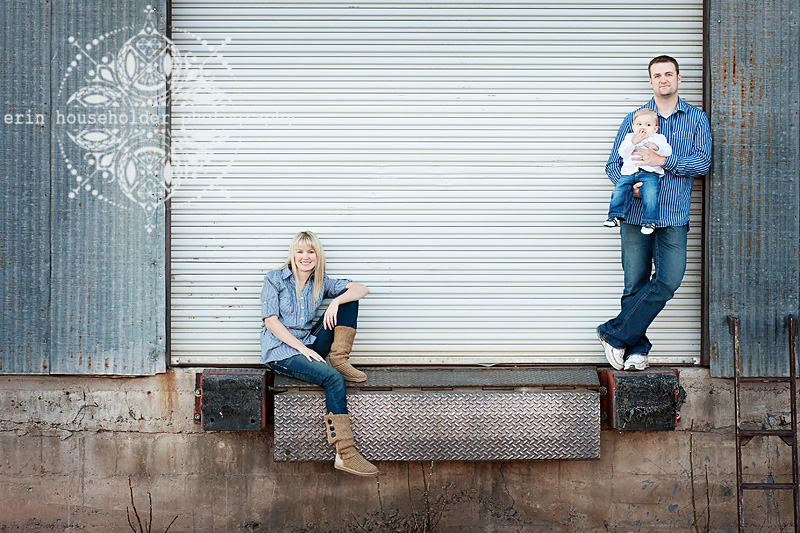
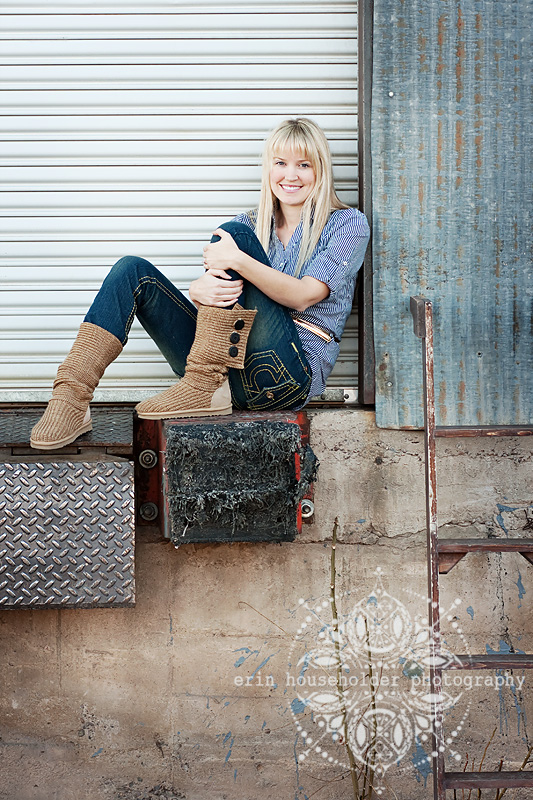
Gila Valley Senior Portrait Photographer | Kayley
Tuesday, March 16, 2010
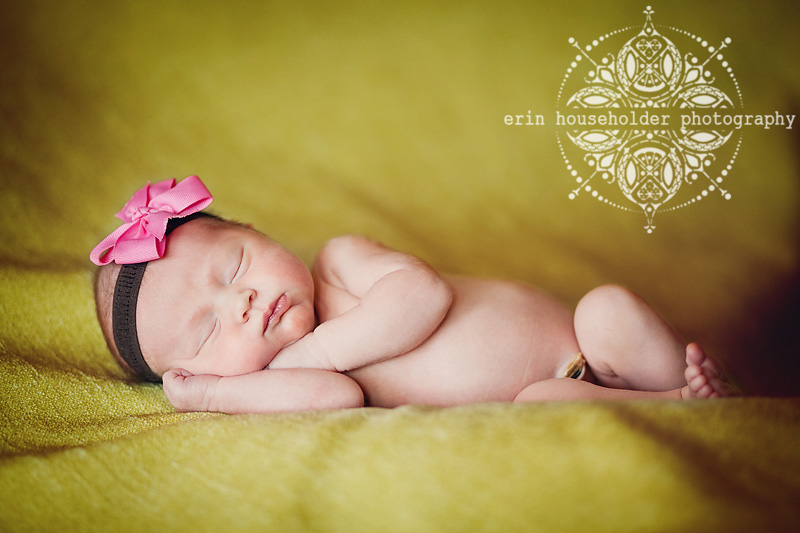
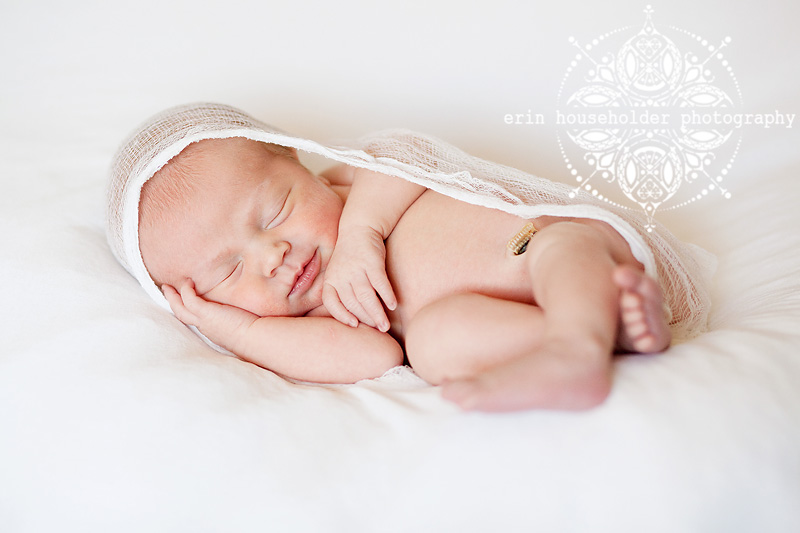
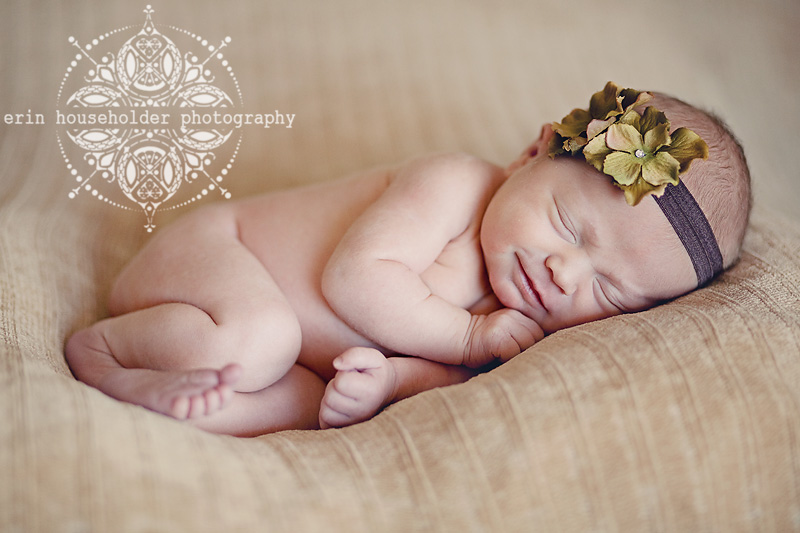
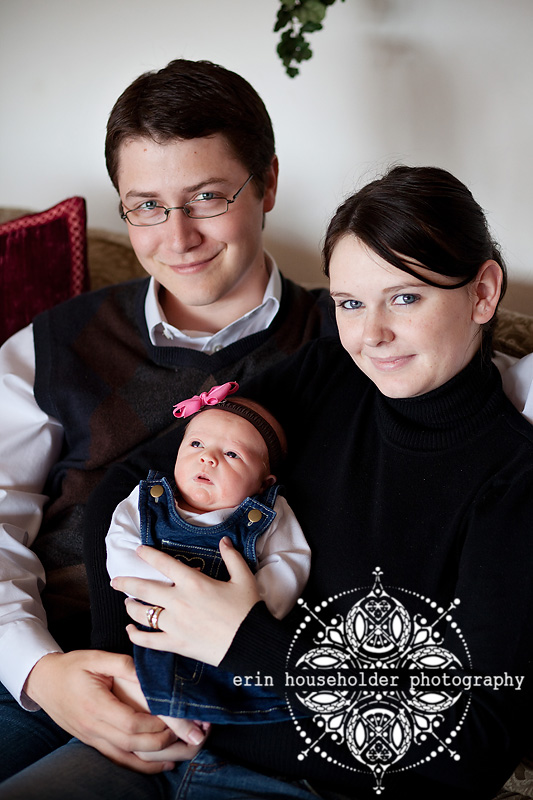
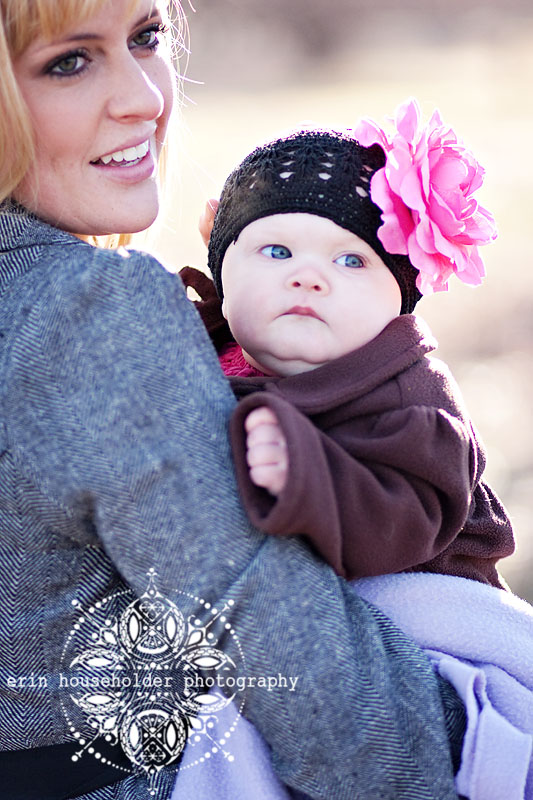
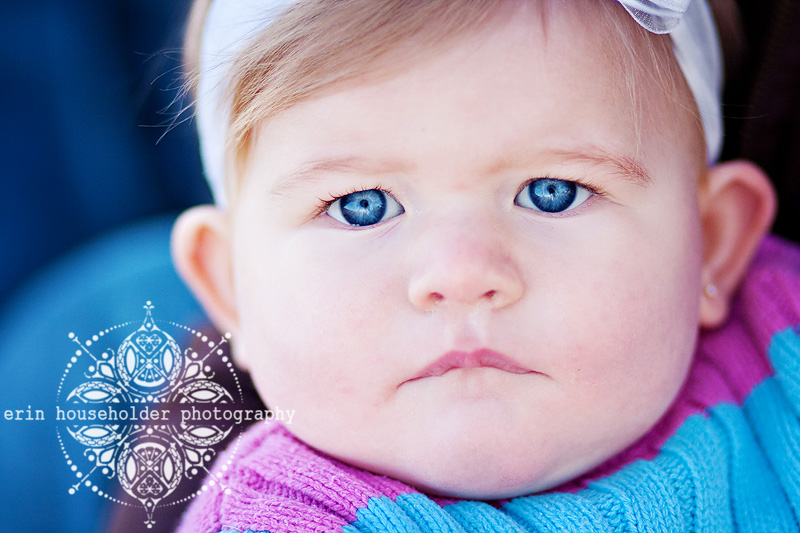
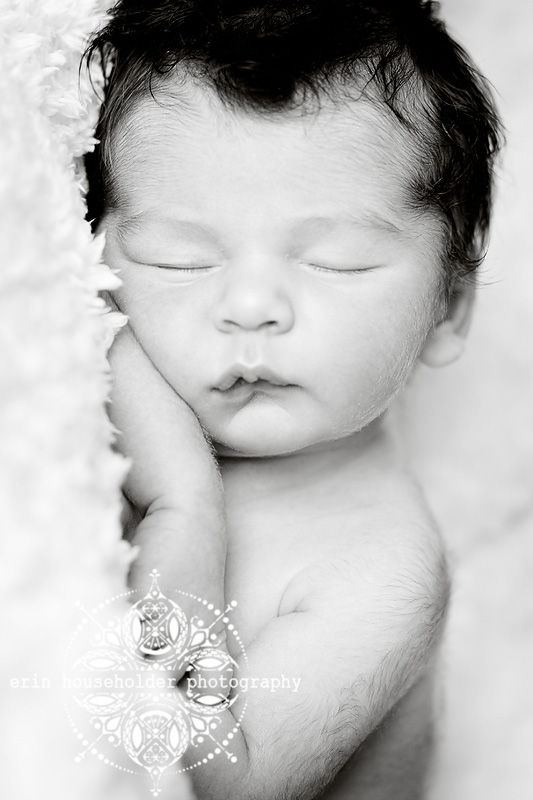
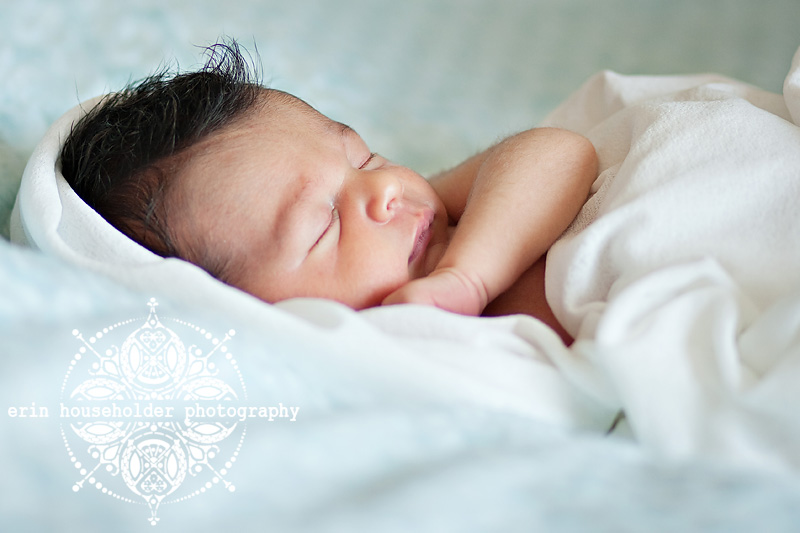
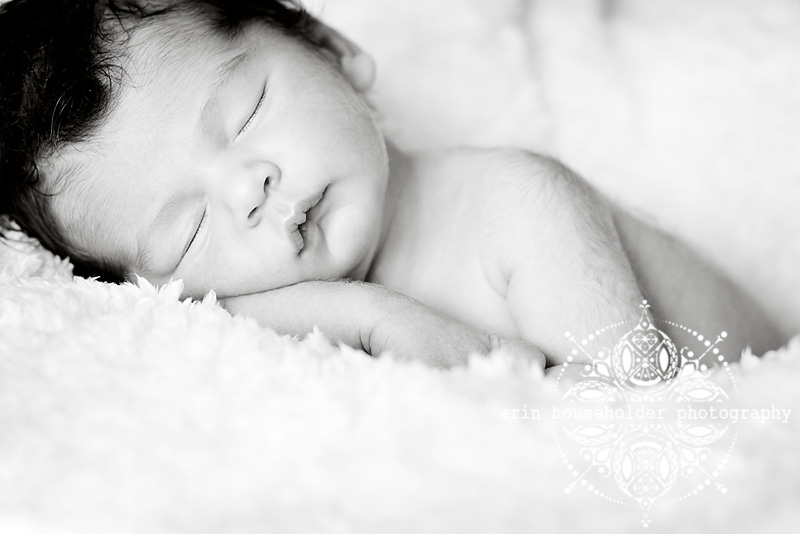
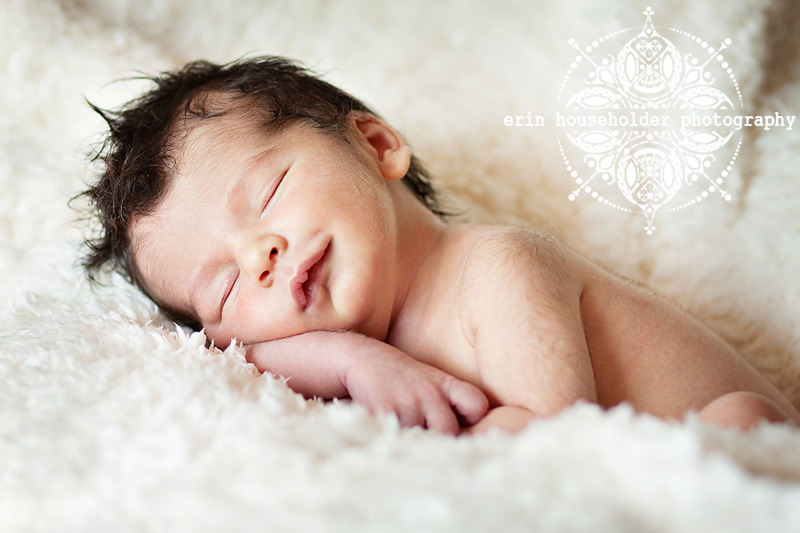
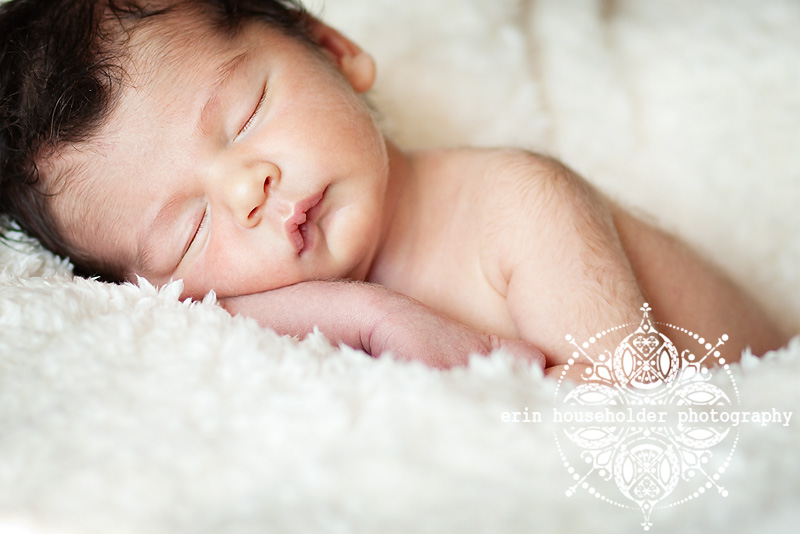
Gila Valley Newborn Photographer | Baylee
Friday, March 5, 2010
::{Yellow Skinny Photos}::

ETA: Here's my second edit. I think I love it. Which do you like better?
Thursday, March 4, 2010
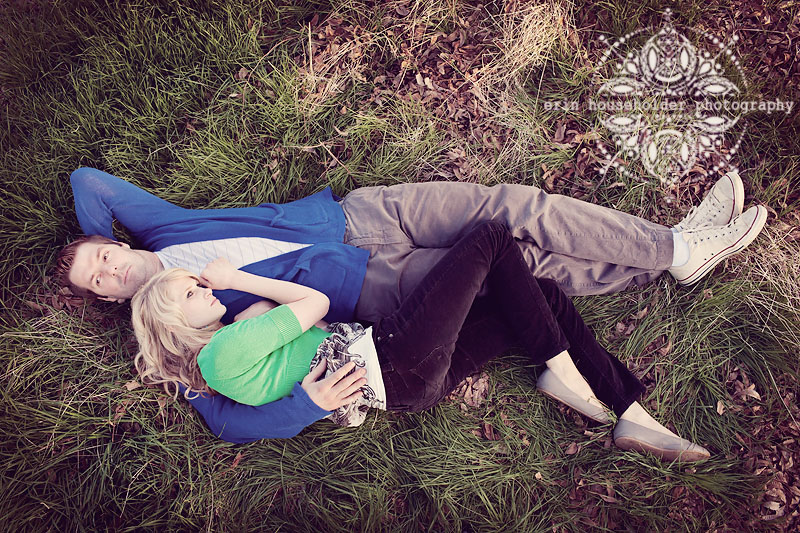
I'm due for ::{my own}:: family photo shoot.
Saturday, February 27, 2010
Monday, February 1, 2010
Wednesday, January 27, 2010
::{small request}::
The position has been filled. By two babies actually.
Paper Rock Scissors?
Can someone please have a newborn baby GIRL for me? Please?
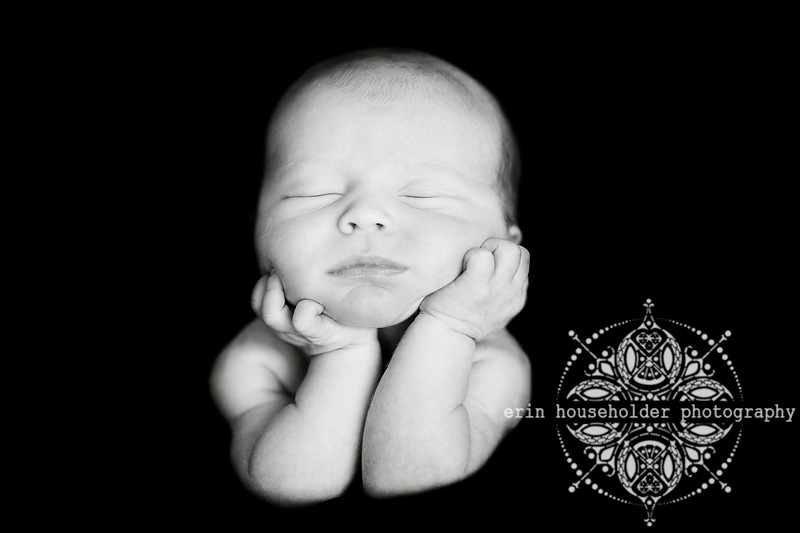
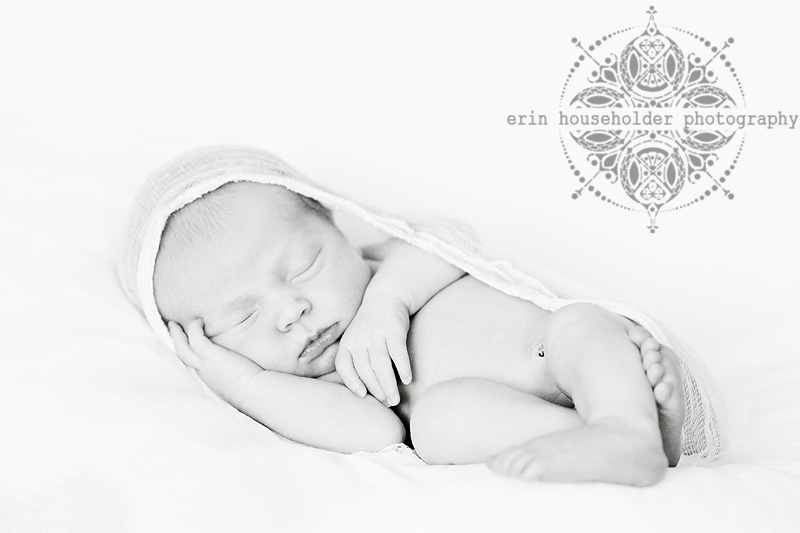
so you can see why it drives me bonkers that I'm not as good at photographing newborns as I'd like to be.
Monday, January 25, 2010
::{Daley}::
Ruth Ann said when she asked me if I could do pictures for them that she wanted candids that showed that they were having fun. Doesn't this next picture accomplish that?
Thursday, January 21, 2010
::{Hello Twenty-Ten}::
January - April: I was driving my husband nuts with my begging and pleading for him to make enough room in our budget to fund my new photography obsession. As a lot of you know... it's not a cheap hobby!
May: He finally shoveled out the cash and bought me my first dslr. A Canon 40d. It was like adding another member to the family. I was in love!
June: I took my first job. And, can I just say... WHAT WAS I THINKING?! I really wish I could go back and do some things over. Looking back, I really should have taken some time to learn the technical basics before getting caught up in the excitement of someone actually wanting to hire me.
July - September: Slowly things started clicking and I felt like I was making a lot of progress.
October: Frustrating! It was in October that I felt like everything was 1 step forward 2 steps back. You know how sometimes the more you know, the more you realize you don't know anything? I was starting to realize that I needed to know MORE and didn't know where to get the information I needed. I started to really work on nailing all technical aspects in my photographs. This took it's own tole on my creativity. I was focusing so much on the technical details that I quit thinking as much about angles, composition, & perspective.
November & December were so busy. SO SO SO busy. I'm so glad that I had the business that I did, but I will do things differently this year. Holiday sessions in September sound good to me. No more December 15th sessions. It was way too stressful! Live and learn.
January: I have loved these last few weeks!! I've taken some much needed time off to re-evaluate, read, LEARN, and just focus on comparing where I'm at to where I want to be; while making notes of steps I need to take to get myself from point A to point B.
::{Welcome 2010}::
If you're still reading... props to you!
I won't hold my breath.
Tuesday, January 19, 2010
::{One more}::
Friday, January 8, 2010
::{Steele}::
Thanks, Sherri, for sharing your home with us!
Monday, January 4, 2010
::{Q & A}::
Kristen asks: How do you keep the skin tones from going all wonky when you're editing? And, how in the world did you add the sun flare to the cute picture of your daughter in the field? Thanks so much!
Let's tackle sun flare first. It is SUPER easy! I think this is the picture you were talking about. For those that didn't see my tutorial on how I edited this,
click here to read.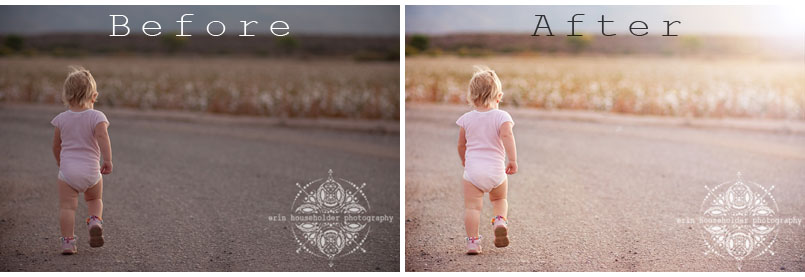
For my tutorial I'll use an image I took on my sister's wedding day. Merry... don't lose hope. I'll get your wedding pictures to you some day! Here's proof that I actually am working on them.
Step One: Open your image in photoshop, edit it like you normally would, then hit Ctrl J to make a duplicate layer.
I forgot to circle it for you, but for those who aren't sure, the layers palette is in the lower right hand corner. You will see that it has two bars (or layers). Make sure you click on the top layer titled Layer 1.

Step Two: On the menu bar at the top click on
Filter > Render > Lens Flare. Drag the little icon to the part of your screen where the sun would naturally be. I usually choose a corner, but if I have an image with trees in the background I sometimes place it like it's coming through the trees. Adjust the different lens settings and Brightness settings to your liking.
Here's what it looks like with the flare...
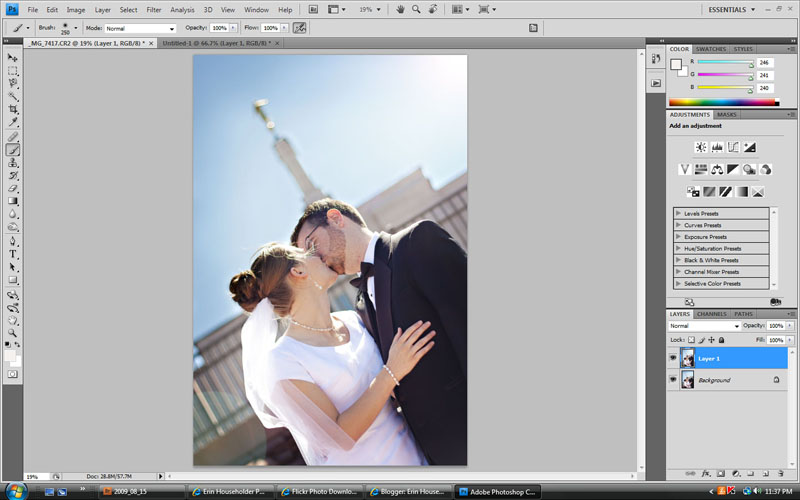
Doesn't that look nicer? I love it.
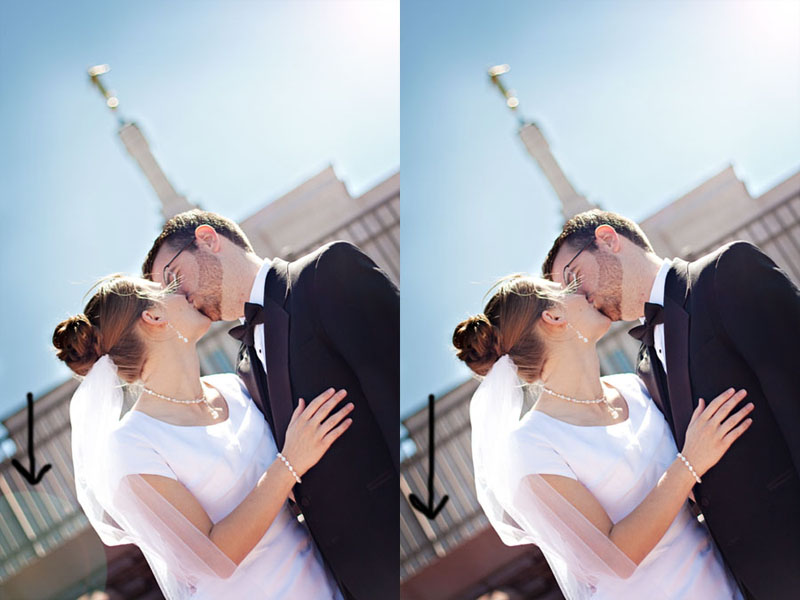
If you notice, there's a little flare cirlce on the bottom left corner. Sometimes I like them and sometimes I don't. For something as formal as a wedding, I usually get rid of it. Because we did the duplicate layer before adding the flare, it's easy to erase.
Step Three: Just add a layer mask to Layer 1, select a large black brush, and brush over the areas of flare in the image that you'd like to erase. Don't know how to use layer masks? Google it. It's something every photographer should know how to use and will save you so much time and make fixing mistakes so much easier.
With flare spot and without.
Posting that took about an hour longer than I expected, so I'll make the skin tone talk short and sweet. I am so far from an expert when it comes to skin tones. I have my own struggles with getting them to look natural. This is what I've learned though...
1. Shoot in RAW. It's so much more forgiving than JPEG!
2. Getting your white balance and exposure correct is the key to good coloring and correct skin tones. Exposure needs to be done in camera while you shoot because you can only adjust it so much in post processing. White balance is much easier to work with later as long as you shoot in RAW.
3. Adding too much contrast to skin will damage it quickly. Try to use layer masks to erase contrast from skin that is starting to look un-natural.
As I learn more about skin tones, I will share my tips with you. I love hearing from you! Please keep emailing your questions and comments to erinhouseholderphotography@gmail.com
::{Picking favorites}::
Love, Erin


