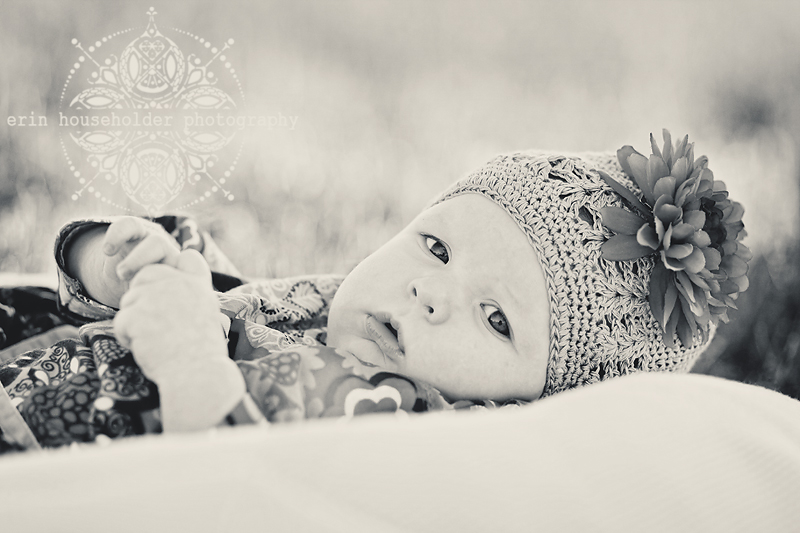
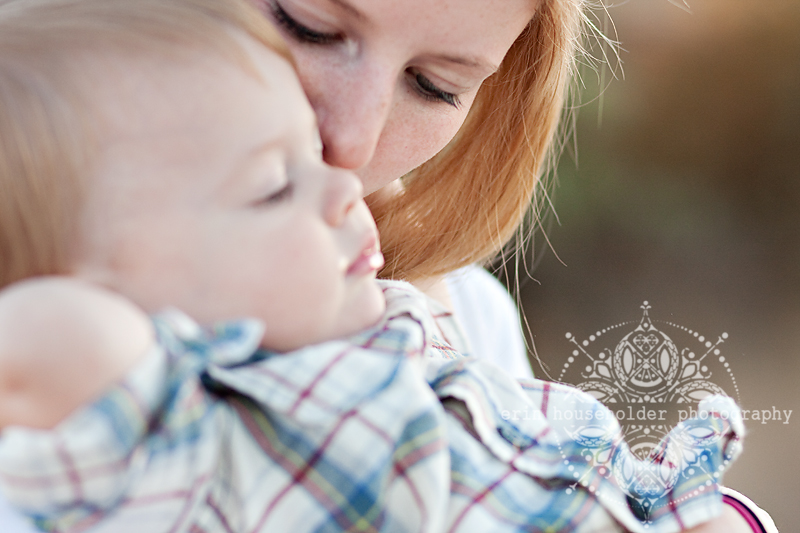
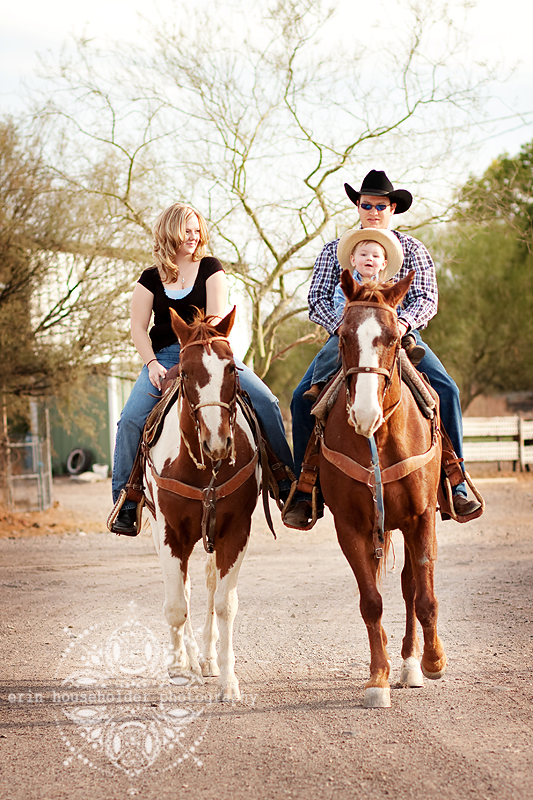
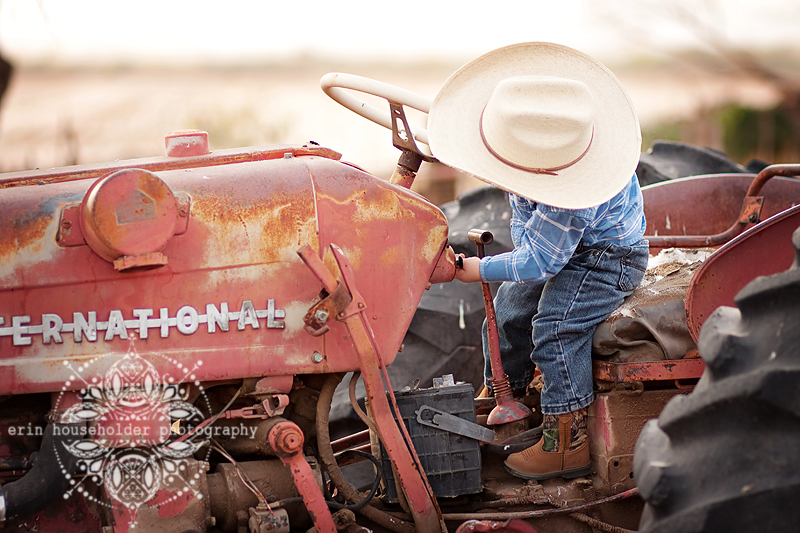
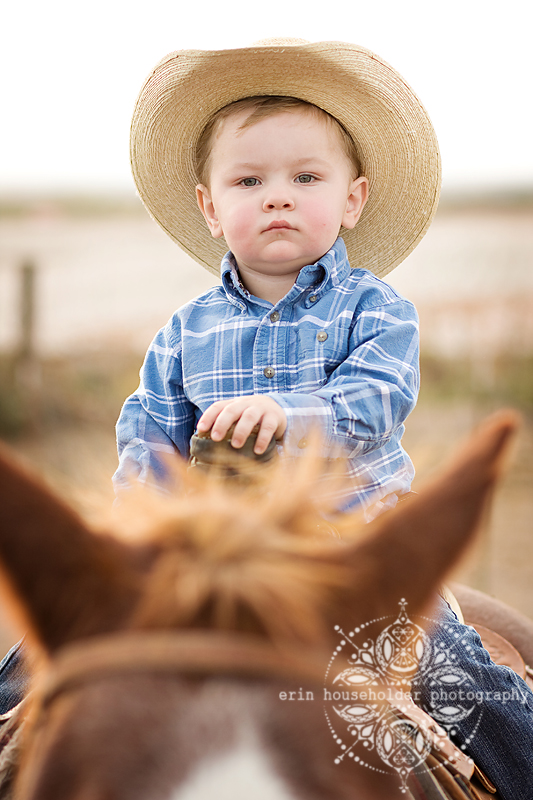
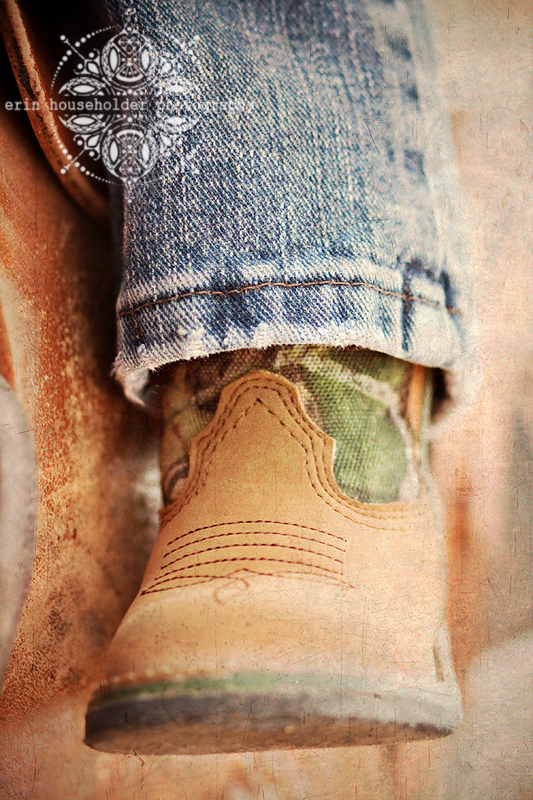
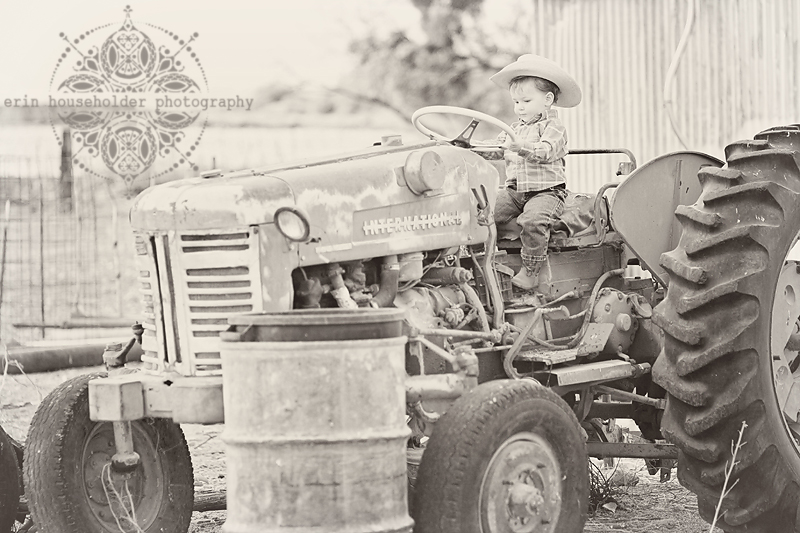
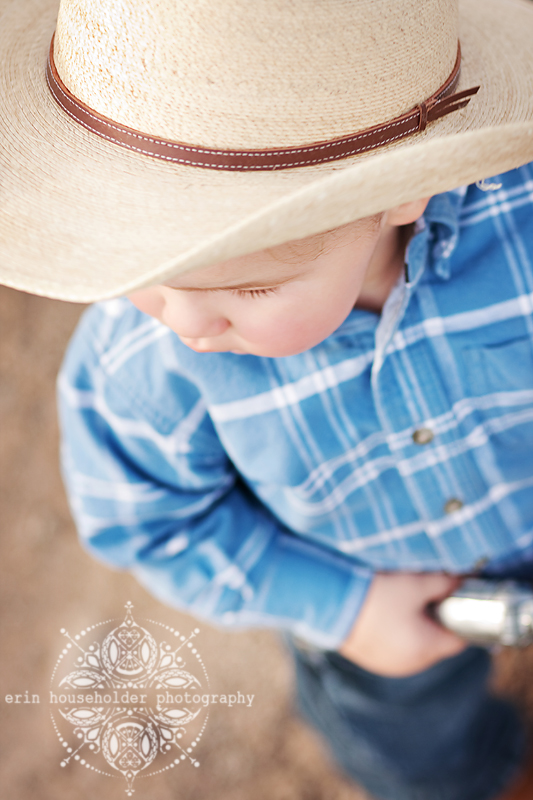
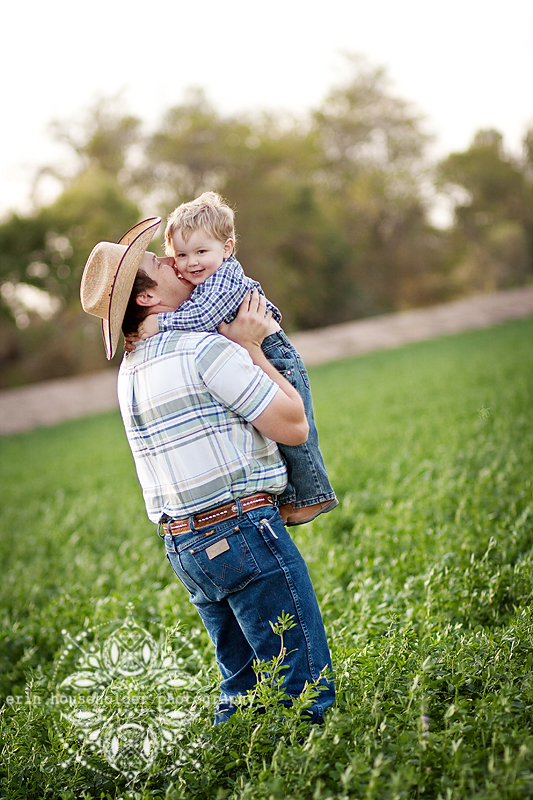
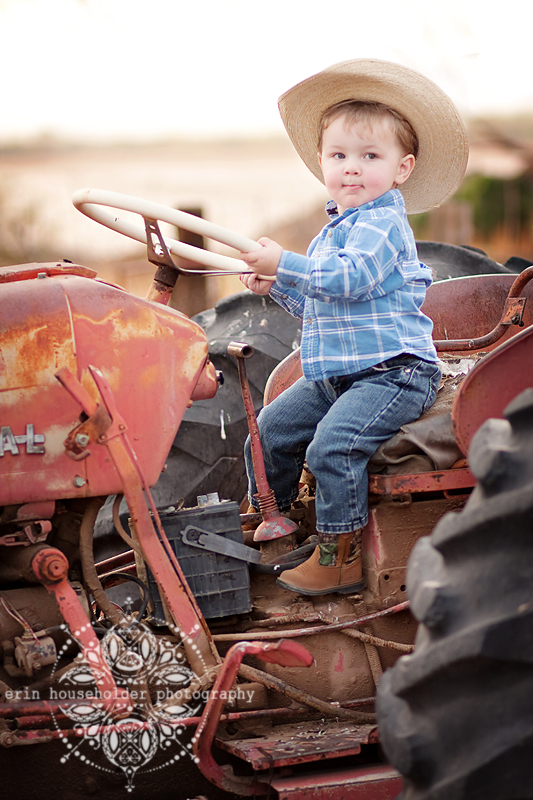
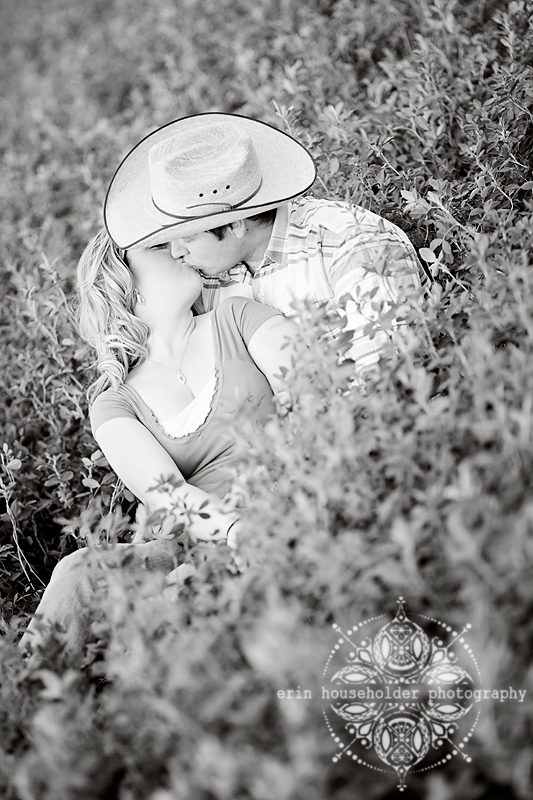
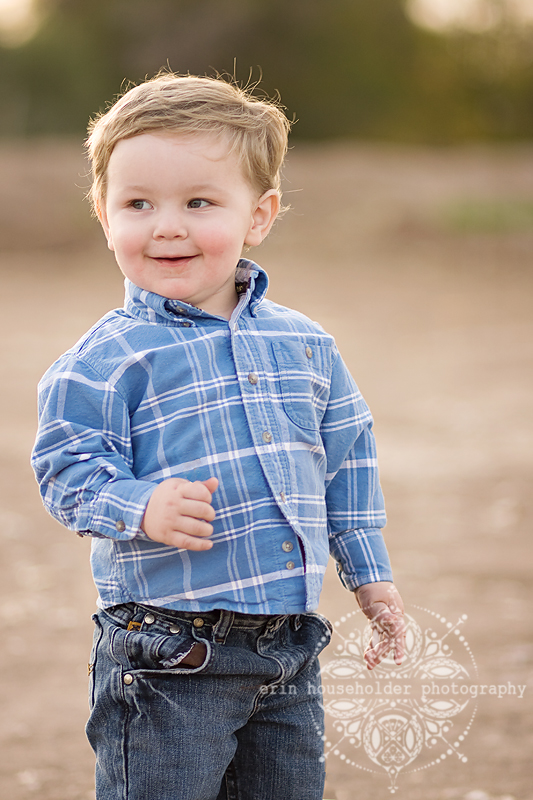
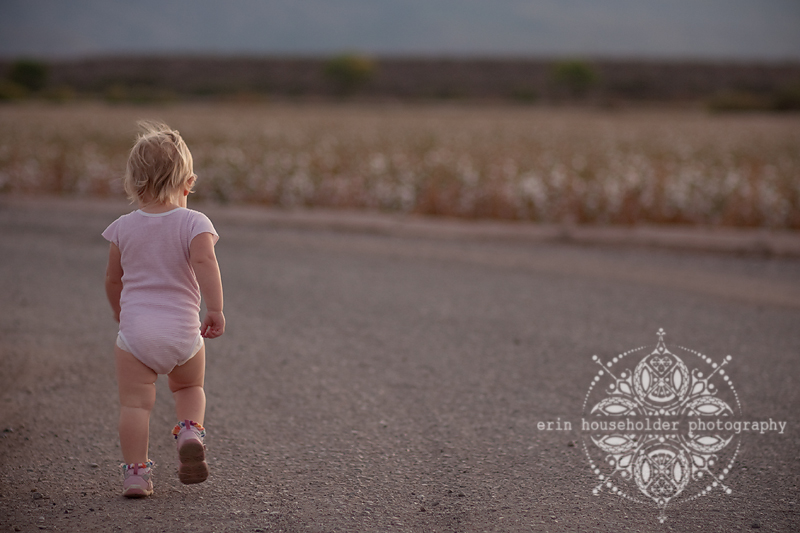
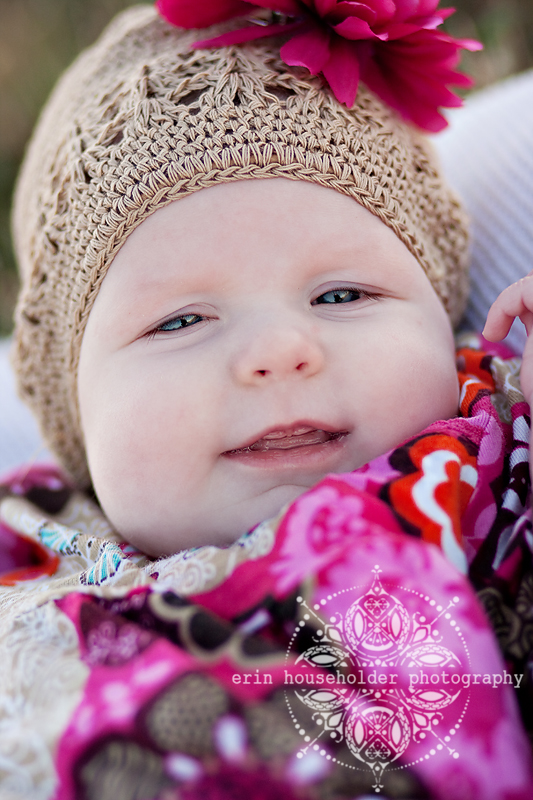
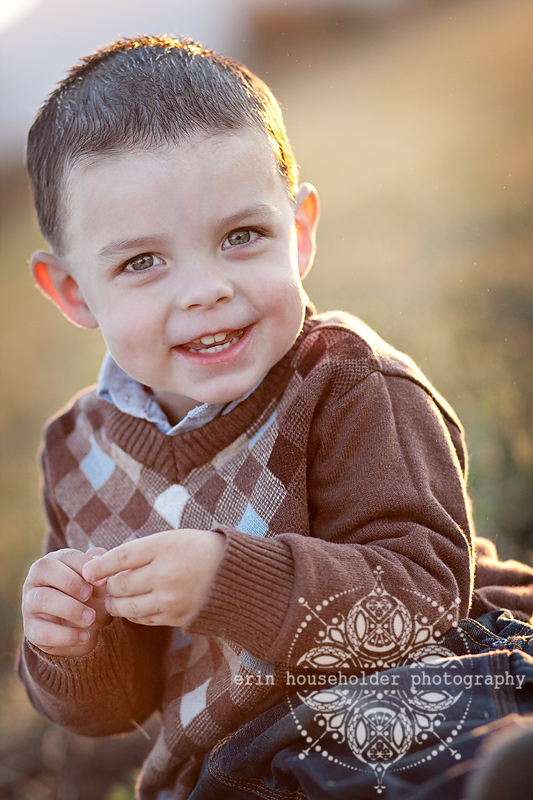
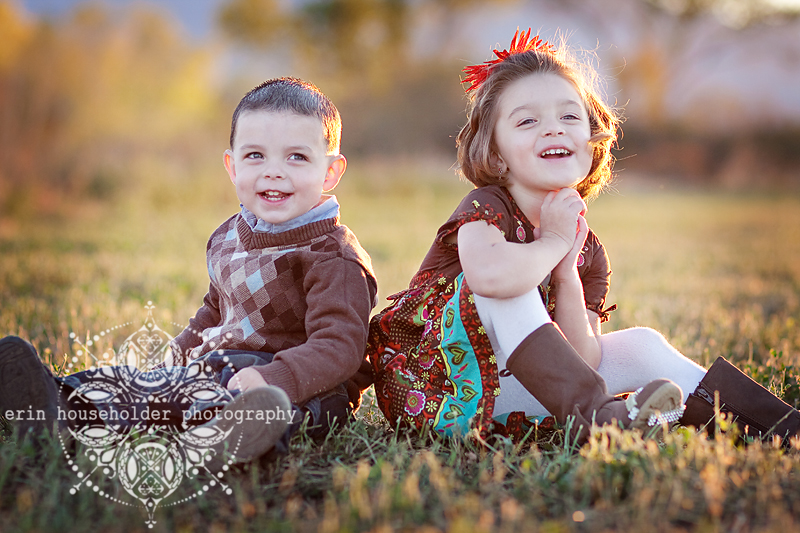
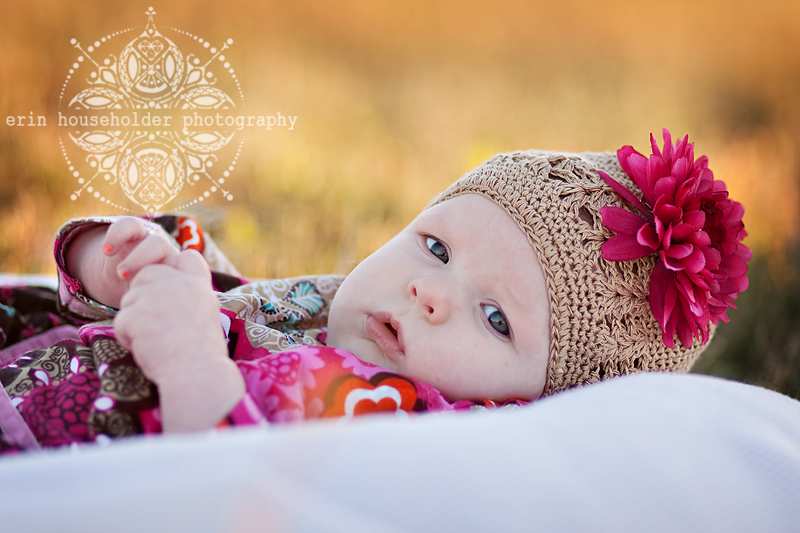
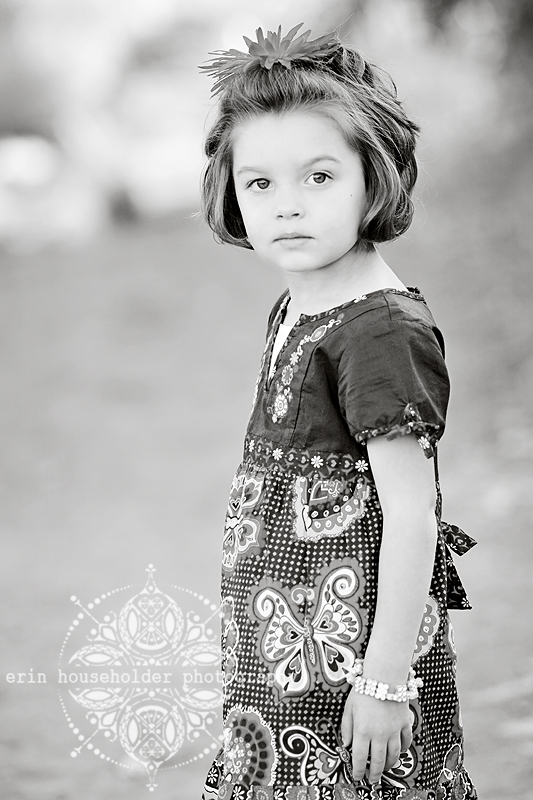
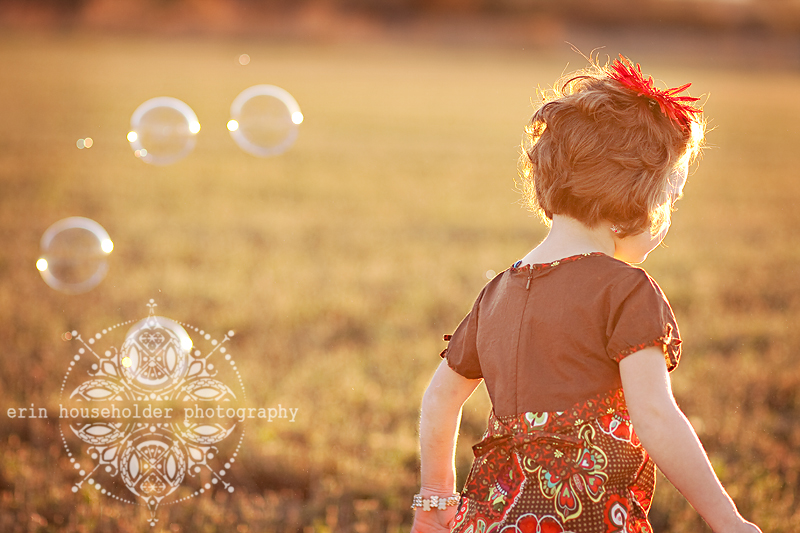
PhotobucketPhotobucketPhotobucketPhotobucketPhotobucket

Friday, November 20, 2009

Thursday, November 19, 2009

Soft Light tutorial

Want to give your pictures a little POP? Here's a quick and easy trick to give your pictures contrast and bring out deeper color. I'm doing this in Photoshop CS4, but you can use these same steps in GIMP (a free editing program that you can download from the internet... similar to, but not as advanced as, Photoshop).


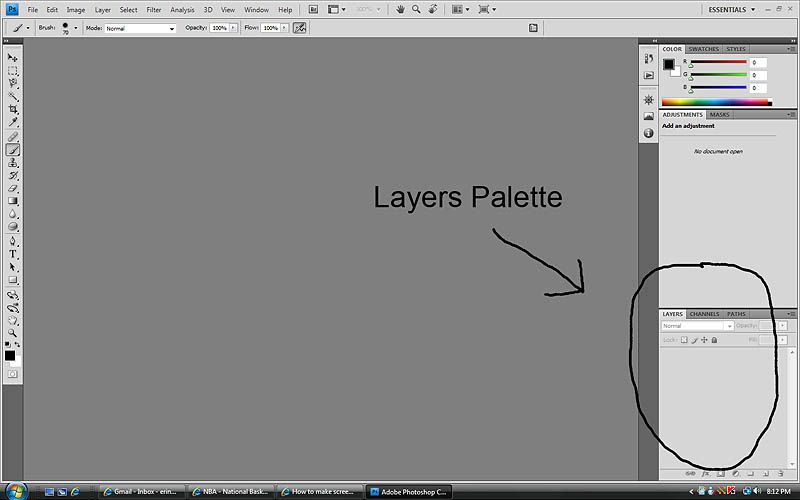
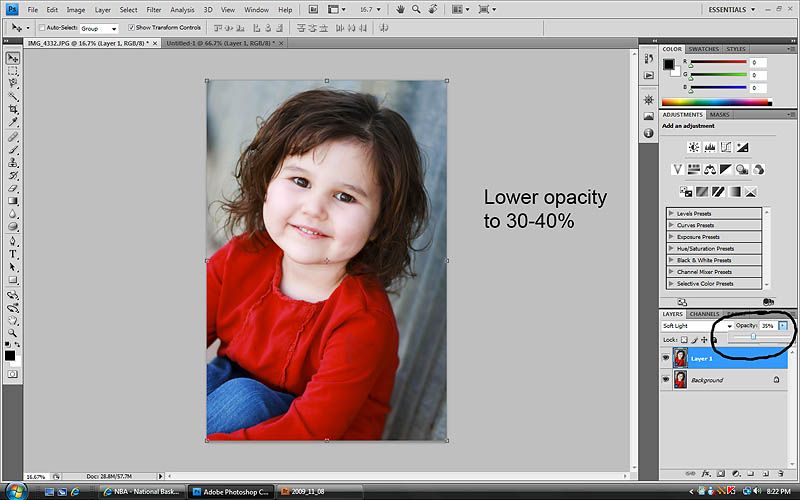
Welcome to the layers palette. This is your best friend. There is not a single picture I edit that I don't use layers.
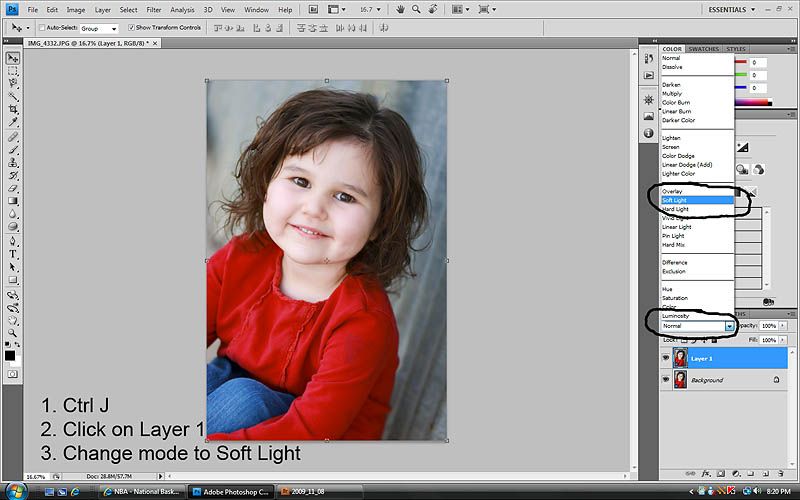
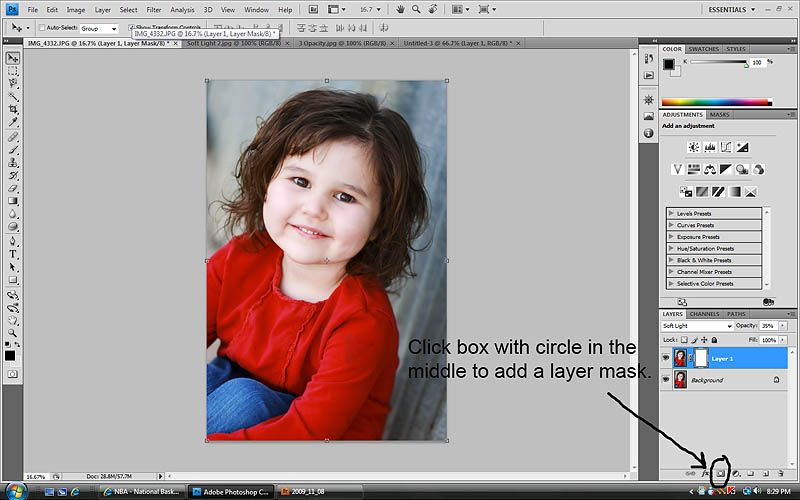


Step ONE:
-After opening your image, hold down Ctrl + J.
-A new layer will pop up called Layer 1. Click on it.
-Directly above Layer 1 there is a drop down box. Click on it and select Soft Light.


Step TWO:
Lower the opacity to your liking. I usually choose 30% depending on the picture. If it's a picture of a person (which is what I am editing most of the time) I never go above 40%. If it's a flower or landscape, I may go as high as 50-60%.


Step THREE:

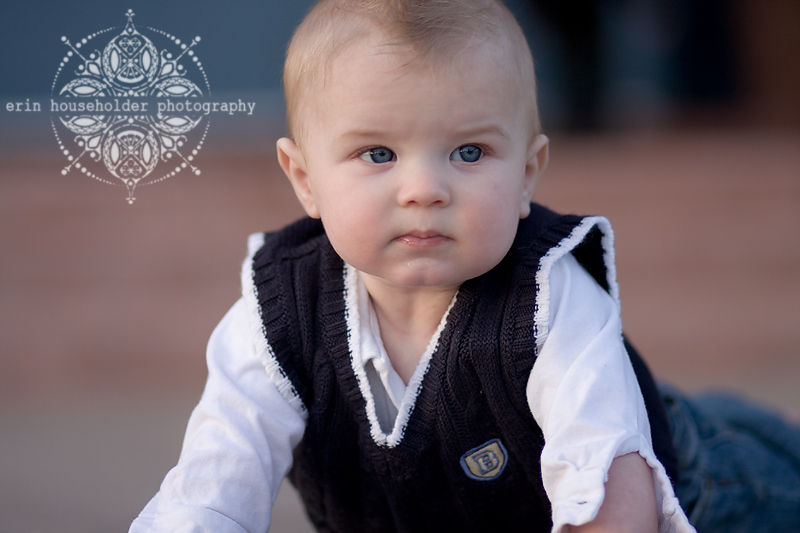
Add a layer mask to Layer 1 by clicking the rectangle icon with the circle in the middle on the bottom of the layers palette. Layer masks let you control where the effect goes on an image. Lot's of contrast = yucky and unnatural looking skin tones, so that's where the layer mask comes in. We're going to 'mask' the effect where her skin is so that the Soft Light is in a way erased or masked from her skin.
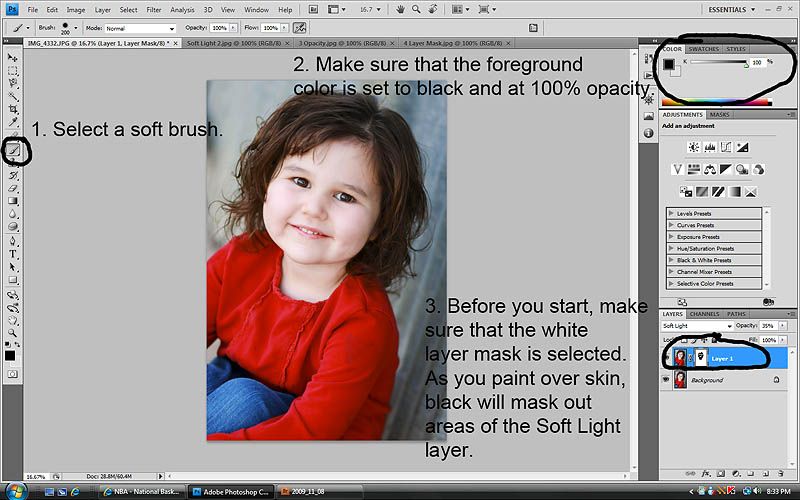


Step FOUR:

Follow steps 1-3 and then begin painting over the skin, avoiding areas like the eyes and lips. I also mask out hair sometimes. It just depends on each picture.

When masking skin, at first you may not be able to tell a difference. You really need to train your eyes. There is a difference though and after a while you will see it.


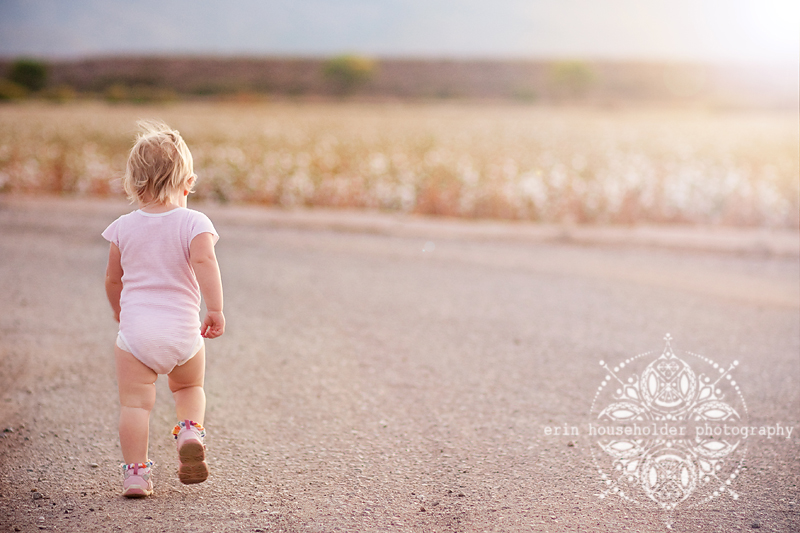
And here's a side by side of the finished product. It's subtle, but adds just enough pop without going overboard.


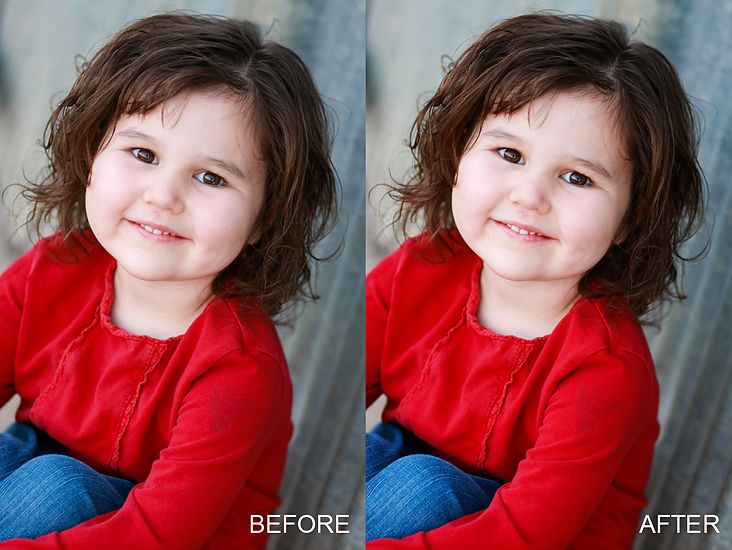
Please let me know if this was helpful to you!


Wednesday, November 18, 2009

::{Cambree . Ridge . Brecklynn}::

You may recognize these kids, seeing as this was my third session with them! Yes, Chantel is single handedly keeping me in business. This was supposed to be their family session, which didn't end up working out, so we did a mini session with just the kids. Ellie even got to tag along. I have to say, I won't be making that mistake again! Love the girl, but she was a little distracting.

IMG_5099


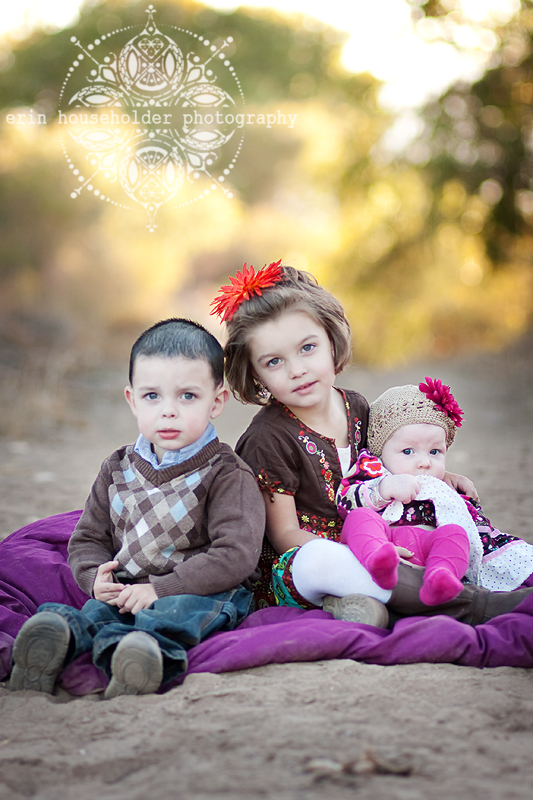
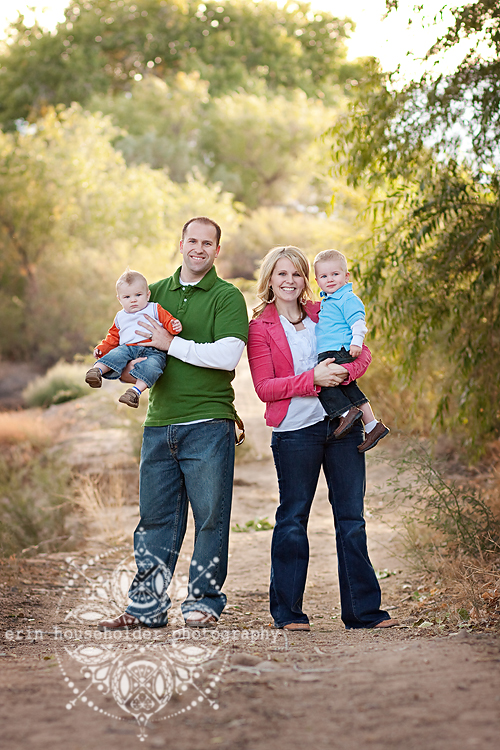
Don't you just love the fall colors? Chantel did a great job picking out outfits. Very fall looking, isn't it? I'm so jealous of those of you that have REAL Fall! Ours is very blah.

IMG_5160 c


IMG_5194


IMG_5188


IMG_5157


IMG_5089


IMG_5166


A new edit is in the works! It has an antique feel with blue tint. So I'll be real original and call it my Blue Antique edit...

IMG_5157 blan

Tuesday, November 17, 2009

Love this...

IMG_3898

The only bad thing about being behind the camera all the time is that I don't have any shots like this of me and my baby. Anyone want to take some pictures of Ellie and I? :)

Monday, November 16, 2009

::{Giddy Up}::

You might be able to tell by looking at these just who stole the entire show. No, it wasn't the horses. It was Jackson! This little man is absolutely the cutest little cowboy. A new location with some very large props was a little nerve racking at first, but SO much fun!

IMG_3136


IMG_3222


IMG_3113


IMG_3107


IMG_3218 copy


IMG_3165


IMG_3297


IMG_3220


IMG_3338


IMG_3272

Sunday, November 15, 2009

Before & After

I've been swamped with editing and needed a little break, so I thought this might be fun for some to see. I'm going to show you some before (sooc: Straight out of Camera) and after (fully edited) images.

Before (SOOC)
IMG_2538 copy

After
IMG_2538 copy2


My steps (if you are confused about some of the wording or tools I use in my processing, Google is your best friend!):


1. Pulled up the exposure, added contrast, and added a slight vignette in Adobe Camera Raw. Because the sun had just barely set, the original photo was very dark. I think my ISO was set to 250. I could've bumped it up a little to avoid the under-exposure.


2. Did a slight S-curve in Curves to add contrast and brighten midtones.


3. Used layer masks to erase contrast from skin at 90% opacity.

(Side note: contrast is NOT good for skin tones. Usually makes them orange and very harsh looking).


4. Added some sun flare to the right corner. The picture was taken after the sun had gone down, but I wanted to make it look as if the sun was just setting. Sometimes I like to fake it :)


5. Used the Sponge tool at 15% opacity to bring out depth and color of the gravel and cotton field.


Before (SOOC)
IMG_3600 sooc

After
IMG_3600

I already liked the SOOC a lot, but it needed a little bit of a pop.


My steps:


1. Lifted exposure and added contrast in Adobe Camera Raw.

2. Used the Color Balance tool to even out skin tones.

3. Did a selective lightening using Curves to brighten up dark shadows on his face. It's a complicated process, but if you want to know how to do it, email me and I'll send you a link to a tutorial.

4. Used an action that I love... Stacey Bishop Workflow... google it.


When using actions, make sure that you adjust each layer to fit the image that you are working on. Yes, actions are great... but they can go from good to bad to worse so quickly and if your eyes aren't trained then you may not know that you have a problem.


As you can see, post processing is so important in digital photography. There's so much that you can do in photoshop and other more advanced editing programs. That said, just because you CAN do it, doesn't mean you always SHOULD. I've definitely had to learn this the hard way. It's so easy to over-process when you're first starting out. I do tend to prefer the extremely processed look... just my personal style. However, I am trying to learn how to find a happy medium.


I hope this helps someone out there! Please feel free to send any questions to erinhouseholderphotography@gmail.com and I'll do my best to get a tutorial posted for you.