


Kristen asks: How do you keep the skin tones from going all wonky when you're editing? And, how in the world did you add the sun flare to the cute picture of your daughter in the field? Thanks so much!
Let's tackle sun flare first. It is SUPER easy! I think this is the picture you were talking about. For those that didn't see my tutorial on how I edited this,
click here to read.
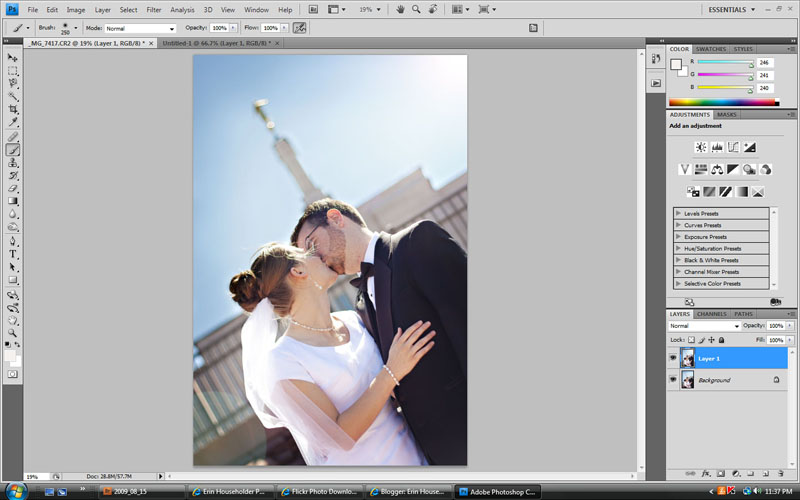
For my tutorial I'll use an image I took on my sister's wedding day. Merry... don't lose hope. I'll get your wedding pictures to you some day! Here's proof that I actually am working on them.
Step One: Open your image in photoshop, edit it like you normally would, then hit Ctrl J to make a duplicate layer.
I forgot to circle it for you, but for those who aren't sure, the layers palette is in the lower right hand corner. You will see that it has two bars (or layers). Make sure you click on the top layer titled Layer 1.

Step Two: On the menu bar at the top click on
Filter > Render > Lens Flare. Drag the little icon to the part of your screen where the sun would naturally be. I usually choose a corner, but if I have an image with trees in the background I sometimes place it like it's coming through the trees. Adjust the different lens settings and Brightness settings to your liking.
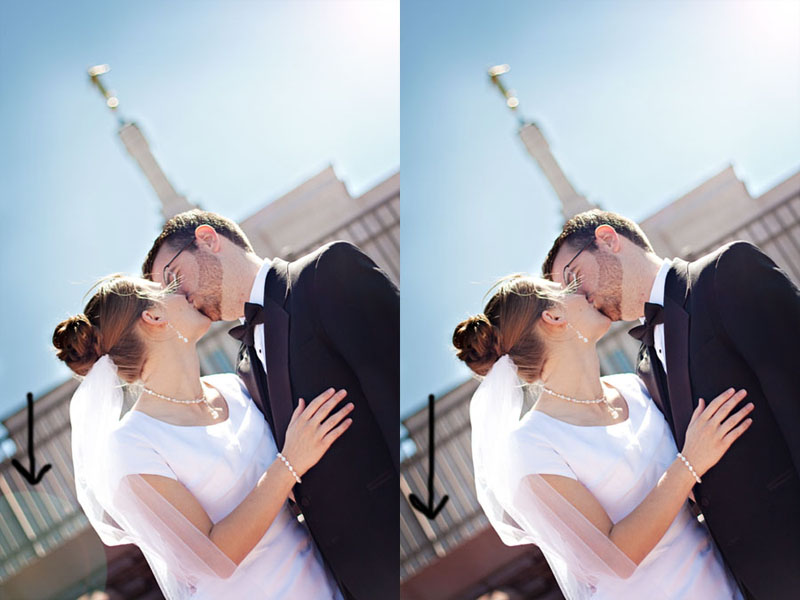
Here's what it looks like with the flare...
Doesn't that look nicer? I love it.
If you notice, there's a little flare cirlce on the bottom left corner. Sometimes I like them and sometimes I don't. For something as formal as a wedding, I usually get rid of it. Because we did the duplicate layer before adding the flare, it's easy to erase.
Step Three: Just add a layer mask to Layer 1, select a large black brush, and brush over the areas of flare in the image that you'd like to erase. Don't know how to use layer masks? Google it. It's something every photographer should know how to use and will save you so much time and make fixing mistakes so much easier.
With flare spot and without.
Posting that took about an hour longer than I expected, so I'll make the skin tone talk short and sweet. I am so far from an expert when it comes to skin tones. I have my own struggles with getting them to look natural. This is what I've learned though...
1. Shoot in RAW. It's so much more forgiving than JPEG!
2. Getting your white balance and exposure correct is the key to good coloring and correct skin tones. Exposure needs to be done in camera while you shoot because you can only adjust it so much in post processing. White balance is much easier to work with later as long as you shoot in RAW.
3. Adding too much contrast to skin will damage it quickly. Try to use layer masks to erase contrast from skin that is starting to look un-natural.
As I learn more about skin tones, I will share my tips with you. I love hearing from you! Please keep emailing your questions and comments to erinhouseholderphotography@gmail.com
No comments:
Post a Comment