PhotobucketPhotobucketPhotobucketPhotobucketPhotobucket

Wednesday, December 23, 2009

Senior Portraits ::{Haleigh}::

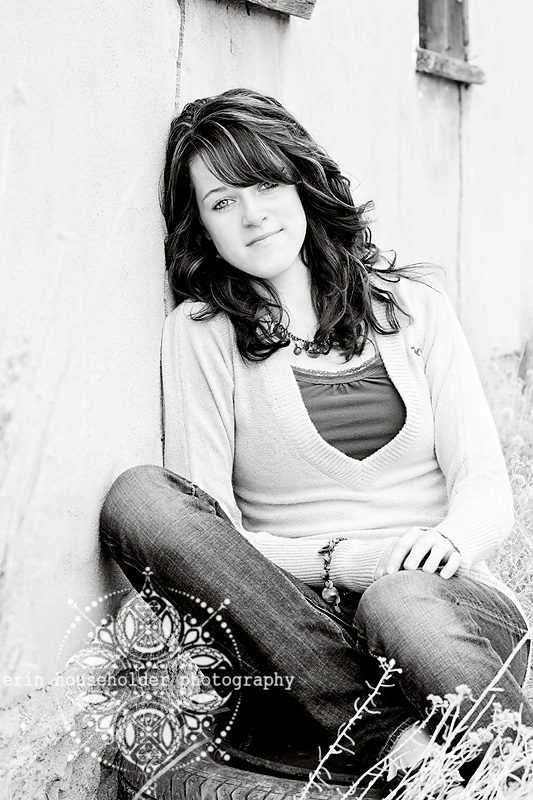
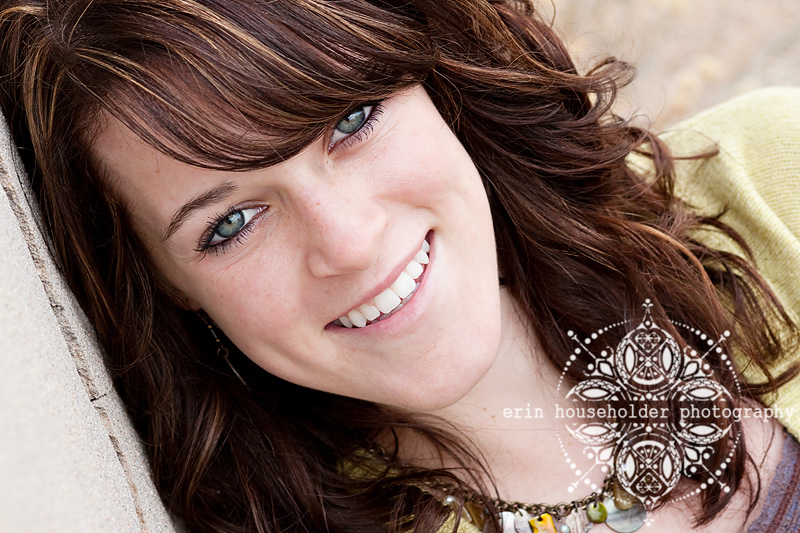
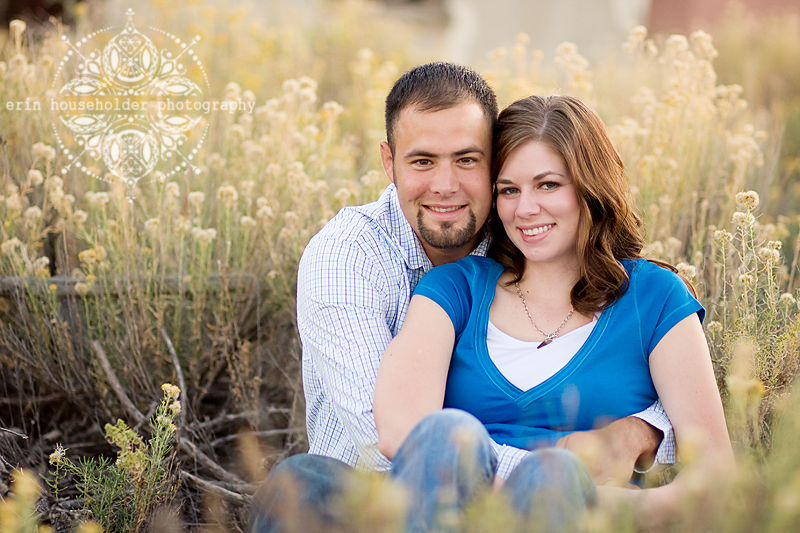
GORGEOUS! Right? I got to do Jace's cousin, Haleigh's senior pictures this afternoon. It was freezing cold, but she took it like a champ and you can't even tell that we were all dying. Haleigh, you are a model! So glad I got to do these for you.


IMG_6738

IMG_6759

Friday, December 4, 2009

::{read the second to last paragraph please!}::

Doing this shoot made me crave a little sister for Ellie... even if the thought only lasted .2 seconds :)

IMG_5985


These cute little sisters were BFFs and loving all over each other the entire time. Never before have I photographed such hams!! It was awesome. I didn't even have to ask them to smile. Just stick them in front of the camera and vwa-la! Perfect smiles.


***

There are many changes going on around here... the biggest being that I'm taking a good long break. I blogged a while back that I would be taking December off, but it may be longer than I had originally thought (maybe another month or two). Nothing major going on... I just want to be a wife and mom for a little while. If you are interested in booking a session, please email me and I will let you know if and when I can accomodate you. If I am not available at the time that you are needing pictures, I know a couple of great photographers that are. Thank you for being understanding, and please continue to check the blog as I will continue posting!


***

{erinhouseholderphotography@gmail.com}

P.S. I will pay someone 5 million dollars if you can tell me WHY IN THE WORLD I can't center my pictures! I upload to flickr or photobucket and then copy and paste the html into blogger. Then I click on the picture and click on the center button. It always shows up centered in my post while I'm writing, but then it does a left alignment in the post. HELP!


Friday, November 20, 2009

Thursday, November 19, 2009

Soft Light tutorial

Want to give your pictures a little POP? Here's a quick and easy trick to give your pictures contrast and bring out deeper color. I'm doing this in Photoshop CS4, but you can use these same steps in GIMP (a free editing program that you can download from the internet... similar to, but not as advanced as, Photoshop).


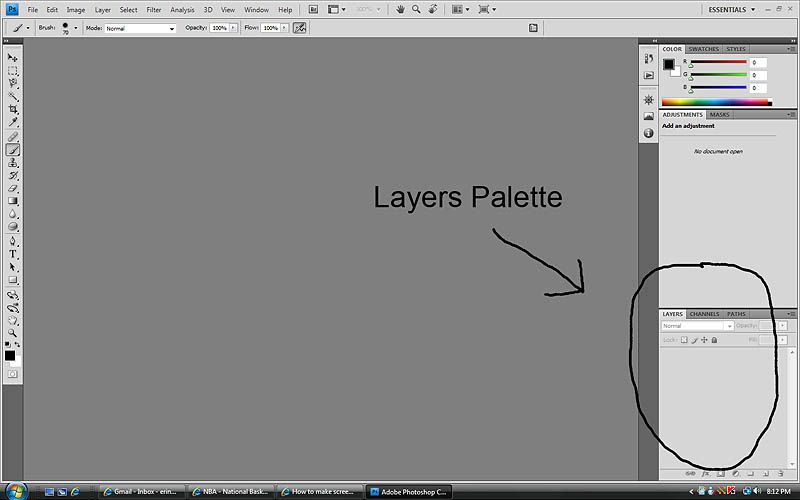
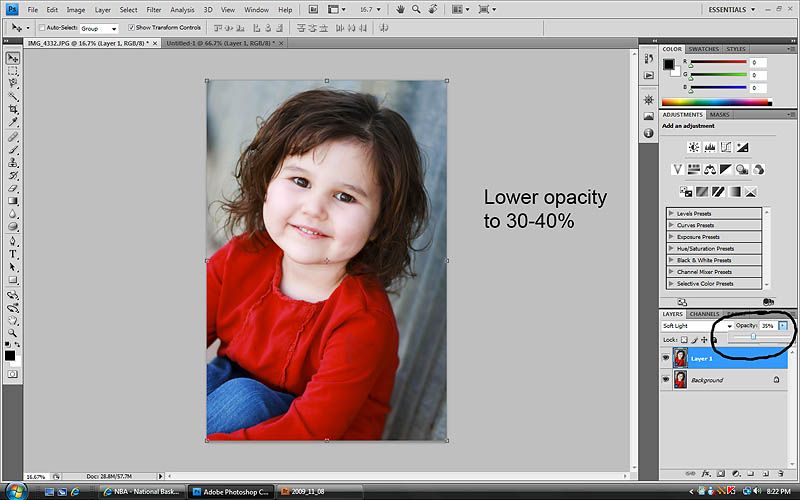
Welcome to the layers palette. This is your best friend. There is not a single picture I edit that I don't use layers.
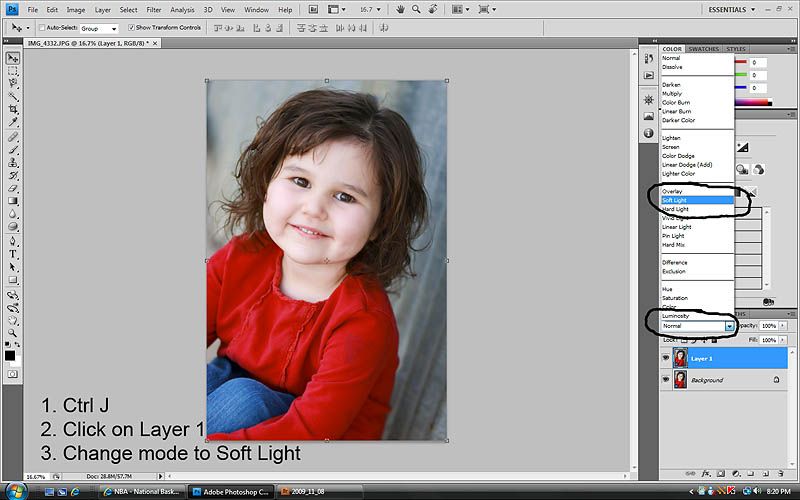
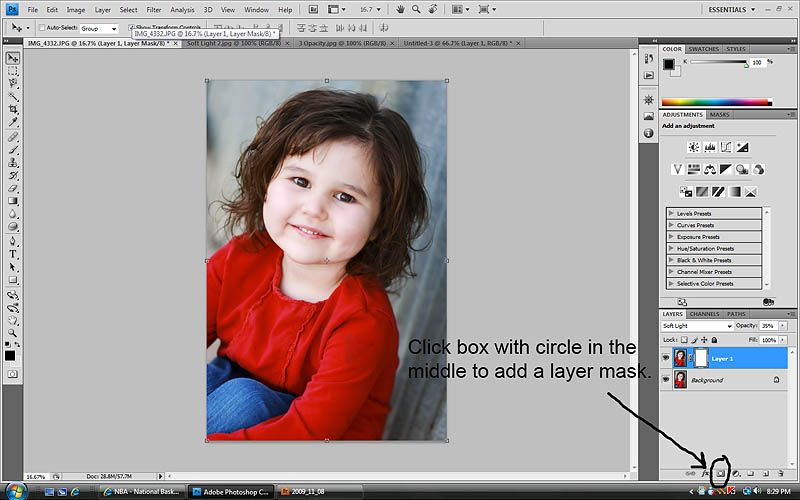


Step ONE:
-After opening your image, hold down Ctrl + J.
-A new layer will pop up called Layer 1. Click on it.
-Directly above Layer 1 there is a drop down box. Click on it and select Soft Light.


Step TWO:
Lower the opacity to your liking. I usually choose 30% depending on the picture. If it's a picture of a person (which is what I am editing most of the time) I never go above 40%. If it's a flower or landscape, I may go as high as 50-60%.


Step THREE:

Add a layer mask to Layer 1 by clicking the rectangle icon with the circle in the middle on the bottom of the layers palette. Layer masks let you control where the effect goes on an image. Lot's of contrast = yucky and unnatural looking skin tones, so that's where the layer mask comes in. We're going to 'mask' the effect where her skin is so that the Soft Light is in a way erased or masked from her skin.
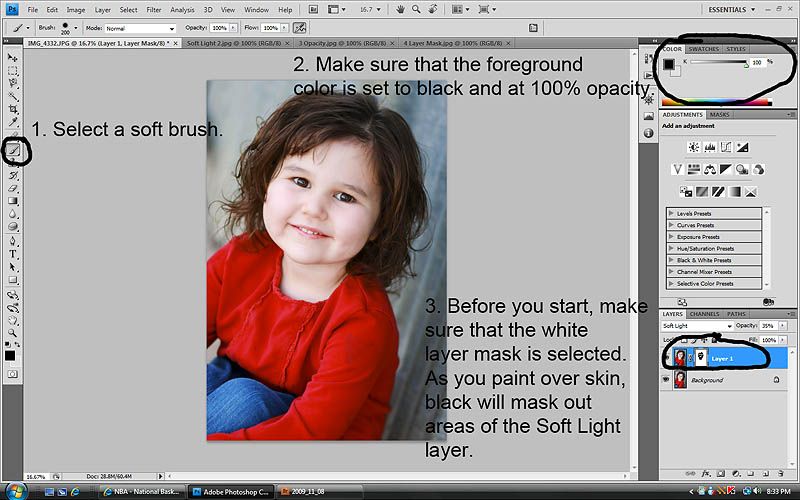


Step FOUR:

Follow steps 1-3 and then begin painting over the skin, avoiding areas like the eyes and lips. I also mask out hair sometimes. It just depends on each picture.

When masking skin, at first you may not be able to tell a difference. You really need to train your eyes. There is a difference though and after a while you will see it.


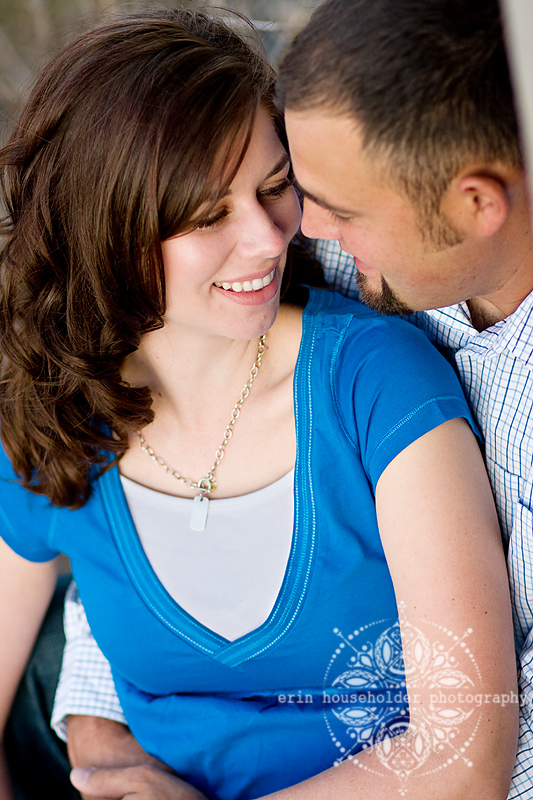
And here's a side by side of the finished product. It's subtle, but adds just enough pop without going overboard.


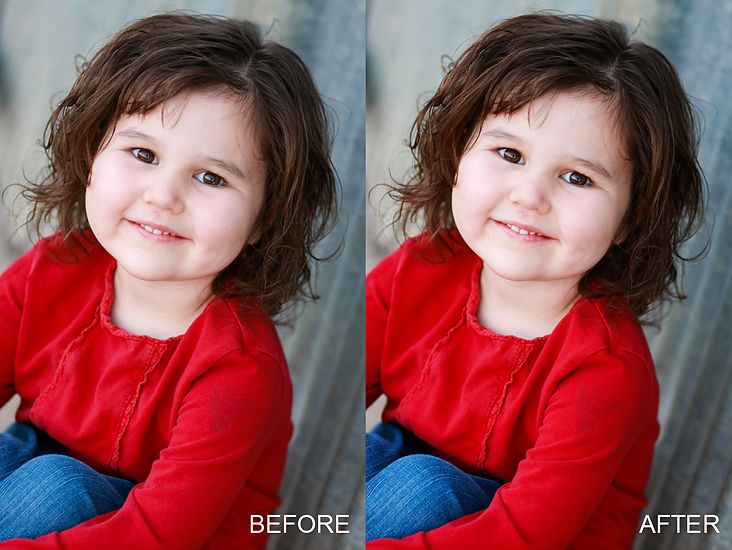
Please let me know if this was helpful to you!


Wednesday, November 18, 2009

::{Cambree . Ridge . Brecklynn}::

You may recognize these kids, seeing as this was my third session with them! Yes, Chantel is single handedly keeping me in business. This was supposed to be their family session, which didn't end up working out, so we did a mini session with just the kids. Ellie even got to tag along. I have to say, I won't be making that mistake again! Love the girl, but she was a little distracting.

IMG_5099


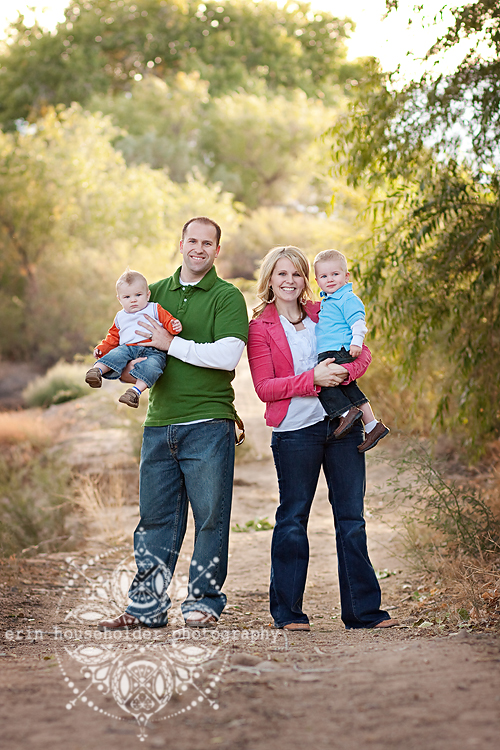
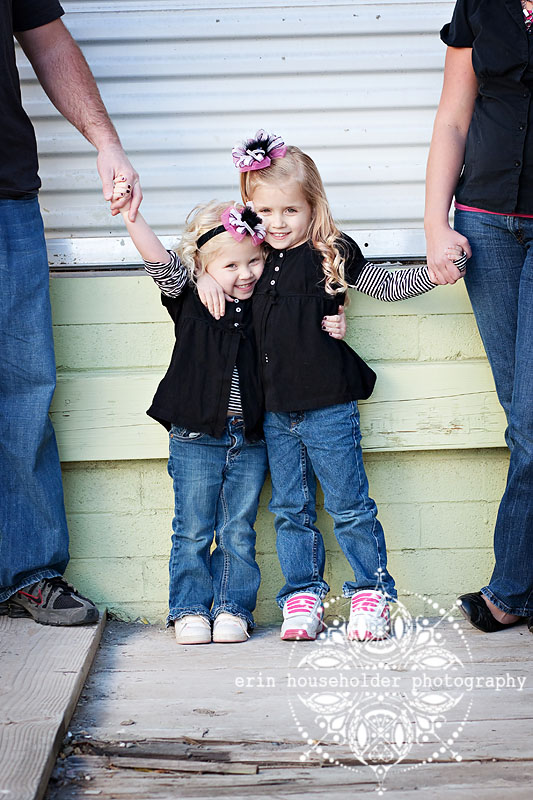
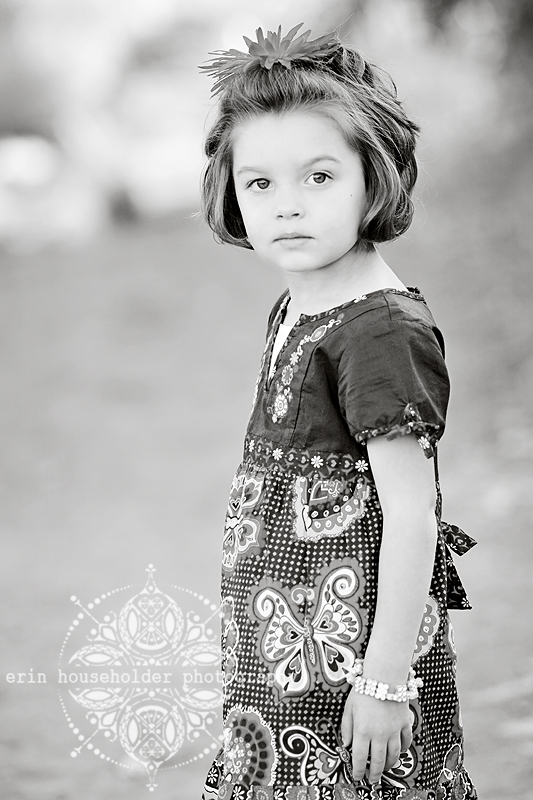
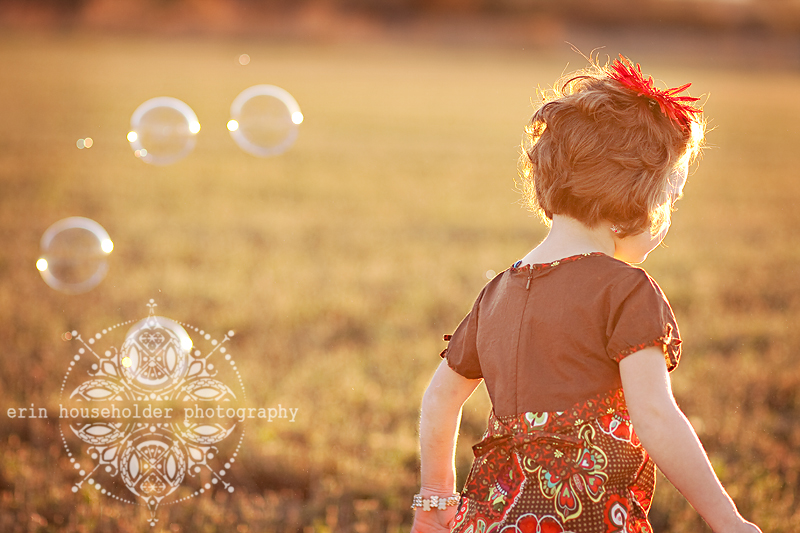
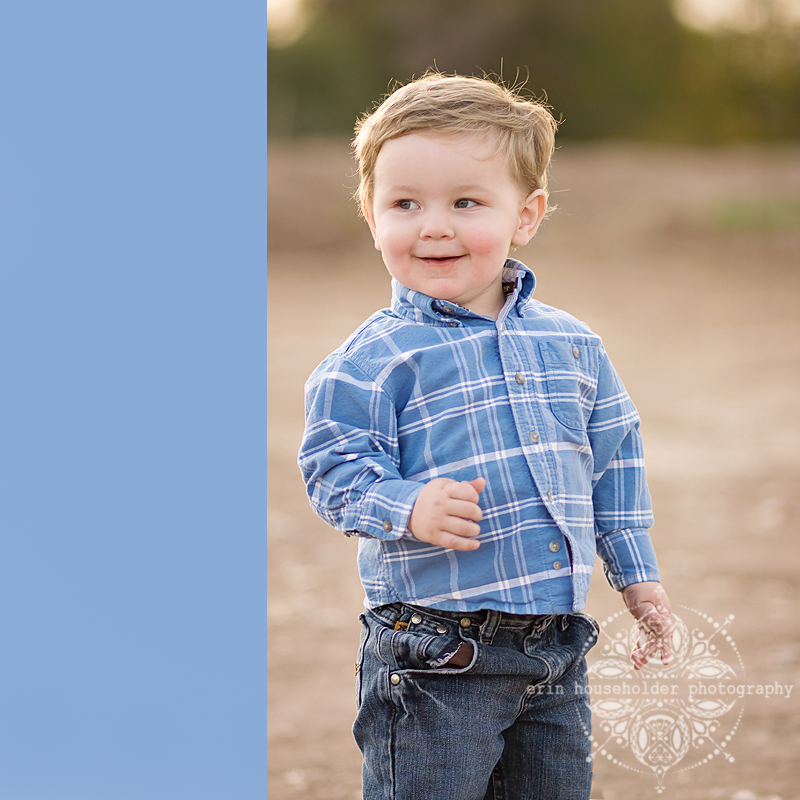
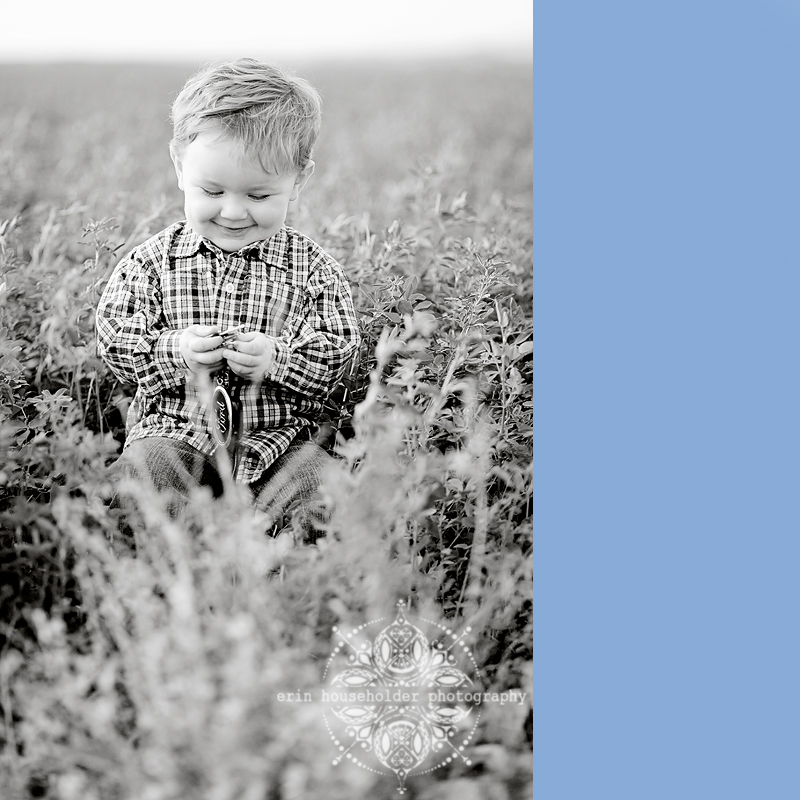
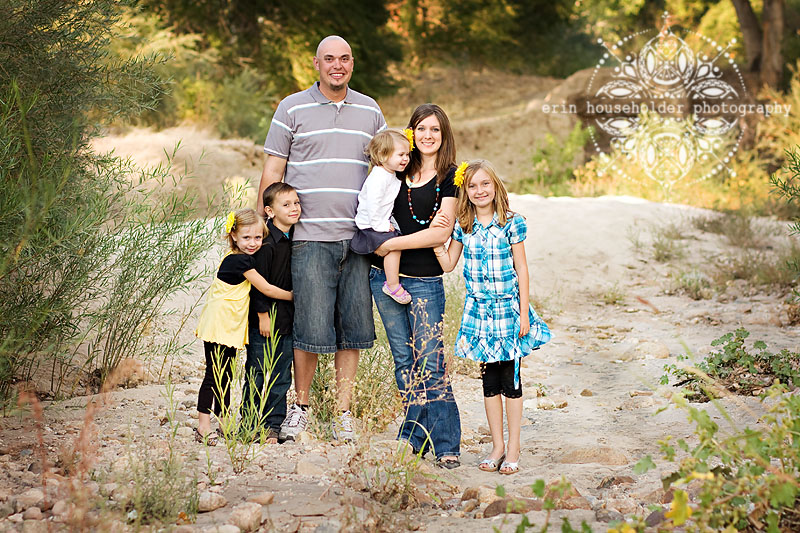
Don't you just love the fall colors? Chantel did a great job picking out outfits. Very fall looking, isn't it? I'm so jealous of those of you that have REAL Fall! Ours is very blah.

IMG_5160 c


IMG_5194


IMG_5188


IMG_5157


IMG_5089


IMG_5166


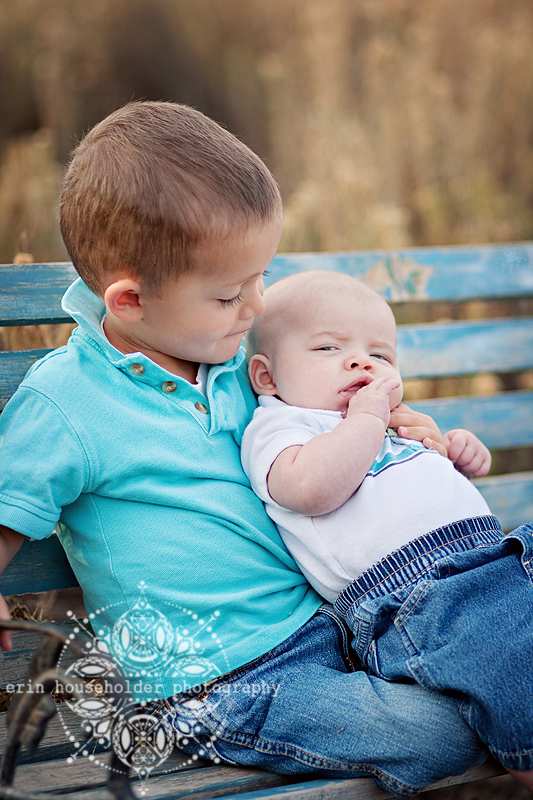
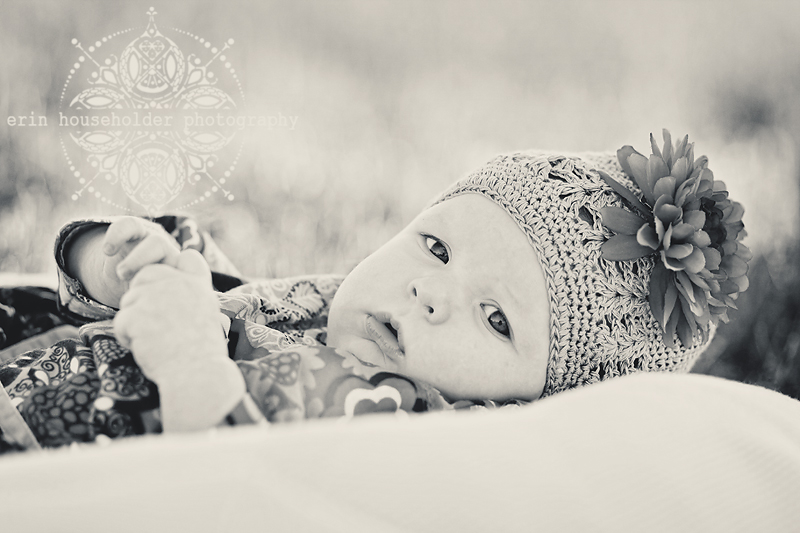
A new edit is in the works! It has an antique feel with blue tint. So I'll be real original and call it my Blue Antique edit...

IMG_5157 blan

Tuesday, November 17, 2009

Love this...

IMG_3898

The only bad thing about being behind the camera all the time is that I don't have any shots like this of me and my baby. Anyone want to take some pictures of Ellie and I? :)

Monday, November 16, 2009

::{Giddy Up}::

You might be able to tell by looking at these just who stole the entire show. No, it wasn't the horses. It was Jackson! This little man is absolutely the cutest little cowboy. A new location with some very large props was a little nerve racking at first, but SO much fun!

IMG_3136


IMG_3222


IMG_3113


IMG_3107


IMG_3218 copy


IMG_3165


IMG_3297


IMG_3220


IMG_3338


IMG_3272

Sunday, November 15, 2009

Before & After

I've been swamped with editing and needed a little break, so I thought this might be fun for some to see. I'm going to show you some before (sooc: Straight out of Camera) and after (fully edited) images.

Before (SOOC)
IMG_2538 copy

After
IMG_2538 copy2


My steps (if you are confused about some of the wording or tools I use in my processing, Google is your best friend!):


1. Pulled up the exposure, added contrast, and added a slight vignette in Adobe Camera Raw. Because the sun had just barely set, the original photo was very dark. I think my ISO was set to 250. I could've bumped it up a little to avoid the under-exposure.


2. Did a slight S-curve in Curves to add contrast and brighten midtones.


3. Used layer masks to erase contrast from skin at 90% opacity.

(Side note: contrast is NOT good for skin tones. Usually makes them orange and very harsh looking).


4. Added some sun flare to the right corner. The picture was taken after the sun had gone down, but I wanted to make it look as if the sun was just setting. Sometimes I like to fake it :)


5. Used the Sponge tool at 15% opacity to bring out depth and color of the gravel and cotton field.


Before (SOOC)
IMG_3600 sooc

After
IMG_3600

I already liked the SOOC a lot, but it needed a little bit of a pop.


My steps:


1. Lifted exposure and added contrast in Adobe Camera Raw.

2. Used the Color Balance tool to even out skin tones.

3. Did a selective lightening using Curves to brighten up dark shadows on his face. It's a complicated process, but if you want to know how to do it, email me and I'll send you a link to a tutorial.

4. Used an action that I love... Stacey Bishop Workflow... google it.


When using actions, make sure that you adjust each layer to fit the image that you are working on. Yes, actions are great... but they can go from good to bad to worse so quickly and if your eyes aren't trained then you may not know that you have a problem.


As you can see, post processing is so important in digital photography. There's so much that you can do in photoshop and other more advanced editing programs. That said, just because you CAN do it, doesn't mean you always SHOULD. I've definitely had to learn this the hard way. It's so easy to over-process when you're first starting out. I do tend to prefer the extremely processed look... just my personal style. However, I am trying to learn how to find a happy medium.


I hope this helps someone out there! Please feel free to send any questions to erinhouseholderphotography@gmail.com and I'll do my best to get a tutorial posted for you.

Tuesday, October 27, 2009

::{Jackson}:: sneak peek!

Sorry, you can't take him home with you. I'm pretty sure his parents wouldn't be ok with that. But don't you just want to? I can't wait to show you more. This was by far the most unique shoot I've ever done. I'll give you a hint: A couple of very large animals were involved!

Untitled-3

Untitled-2

Monday, October 26, 2009

::{Dustin & Megan}:: Engagements

Every once in a while I finish editing a shoot and I think to myself, that went exactly the way I hoped it would! It's happening more often these days, which is exciting for me. This was definitely the case with my last session. Megan is a friend of mine from college and also happens to be Jace's cousin. I love this girl! She is so cute and fun. Dustin seems pretty great too. These two were set up by Megan's aunt on a blind date and they've been inseparable ever since! I'm so excited for you both and I'm so glad that I could do your pictures! I hope you love them.

IMG_2896


IMG_3032


IMG_2969


Untitled-1

IMG_3039


IMG_3002 copy


IMG_2906 copy


IMG_3017 copy


IMG_2955


IMG_3044


IMG_3058

Thursday, October 22, 2009

Family sessions are in full swing!

I am busy busy BUSY this time of year! Turn-around time for receiving your pictures is now three weeks. Thank you for your patience.

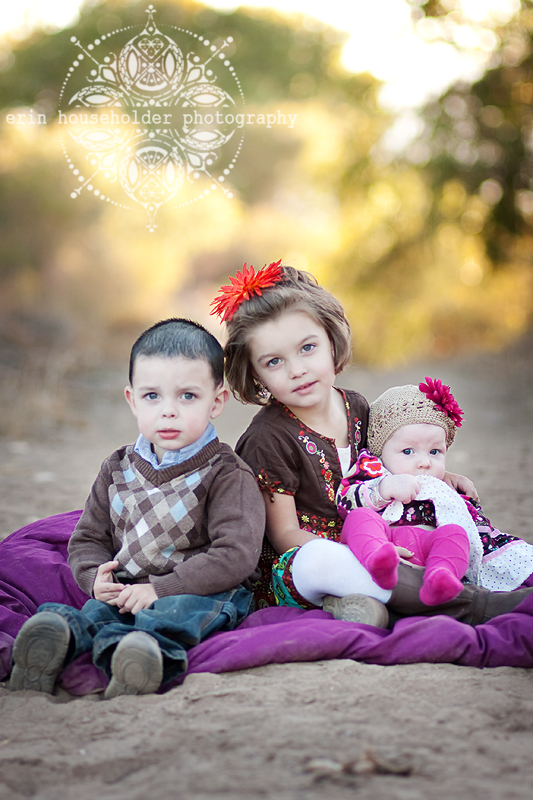
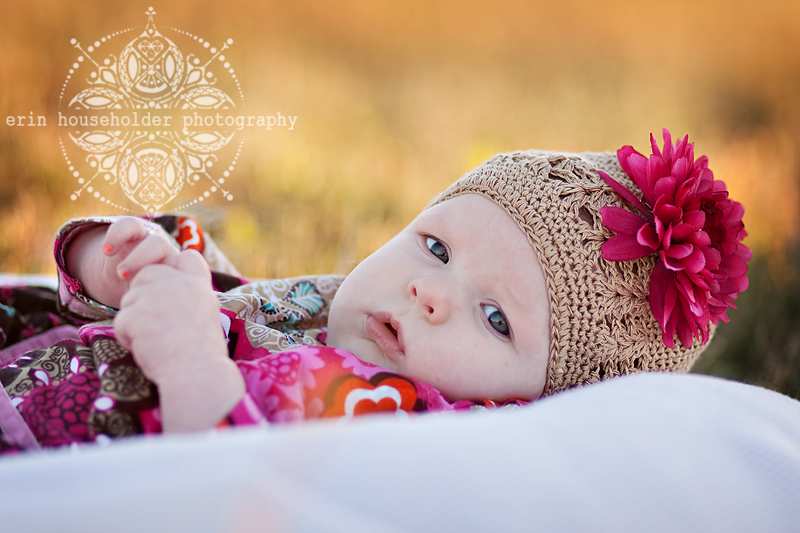
Here's a peek from my most recent session...


IMG_2686

Monday, October 19, 2009

::{Progress}:: & a new lens

I am definitely in the middle of a long journey. Nearly every day I learn something new. There is SO much to learn when it comes to photography. I think so many people pick up a camera and say, "I'm a photographer". Well, I was one of those people and it didn't take me much time to learn that I had no clue what I was doing. It's great to aspire to something, but more than ever I probably wouldn't call myself "a photographer". Yes, I'm learning photography and I'm taking pictures for people... but I'm just not quite there yet. I recently added a paragraph to my Pricing post explaining why I keep my prices low. When I'm confident calling myself a photographer, I'll start charging like a photographer. Until then, I'm just a tiny little fish in the humongous ocean of photography.

So this is fun...

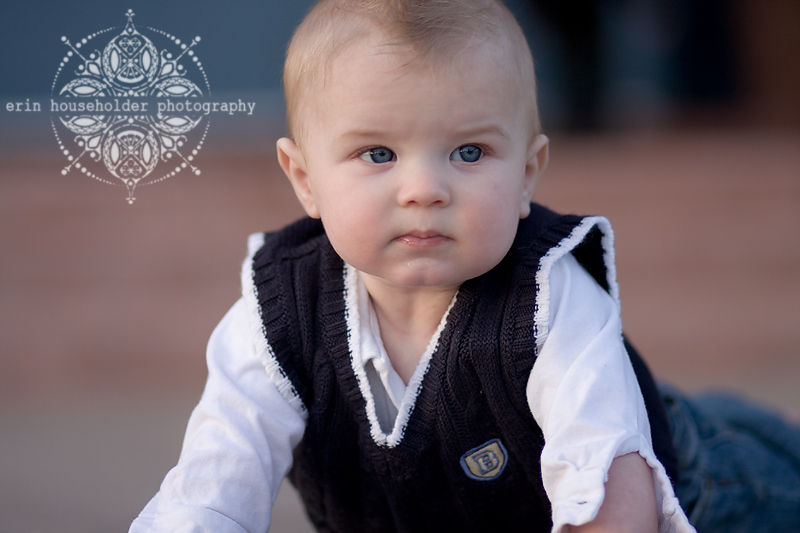
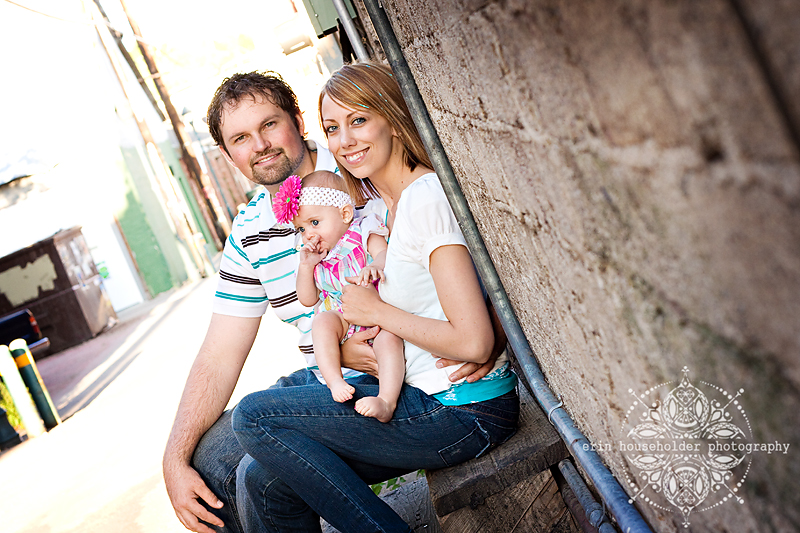
Here's a picture from my second session ever! This was back in June, just 4 1/2 months ago. Things I like about it: composition (although I should have told Blake to move his hand closer to his body), tilt. Things I don't like: background is blown, I didn't get the baby to look at me, the colors are all off. Notice how their faces are a little bit too orange?


IMG_ (84)


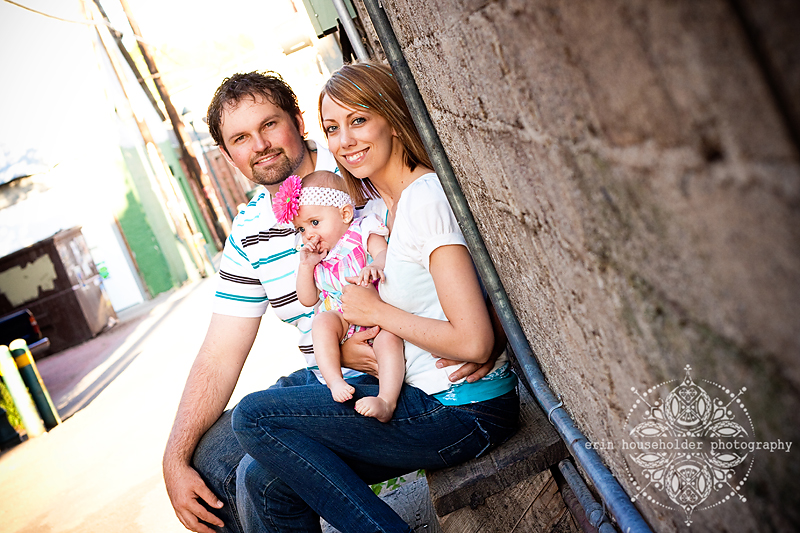
I can't go back and fix the mistakes I made when the picture was taken, but I can show you how I would edit this picture with what I know now. Can you see a difference? Better exposure, less color pop... trust me, it's a good thing, more subtle over-all color, and better skin tones.


IMG_1760 copy


I am still planning on posting some tutorials for those that have asked. It is time consuming to write it all out step by step with screen shots, so be patient with me.


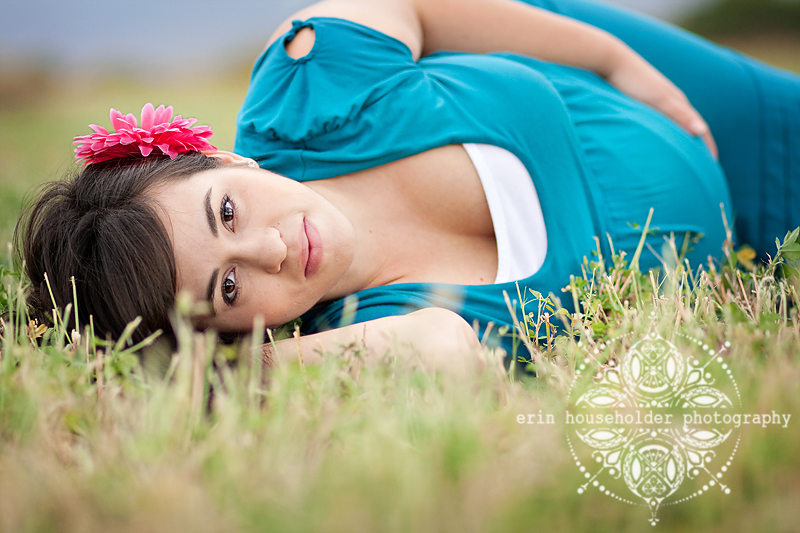
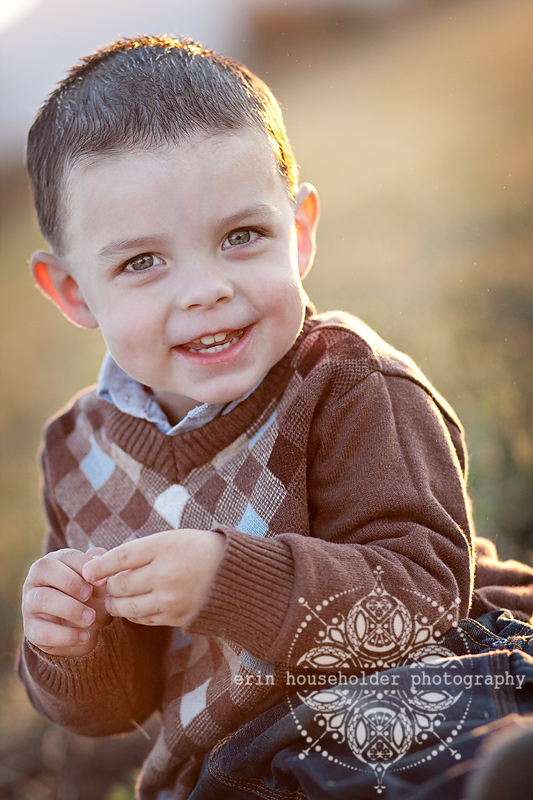
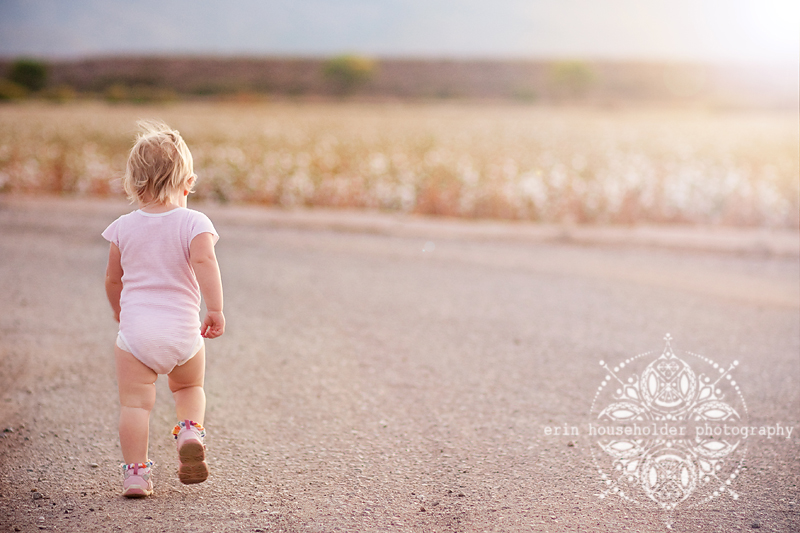
And this is the most exciting part of my day...


IMG_2468


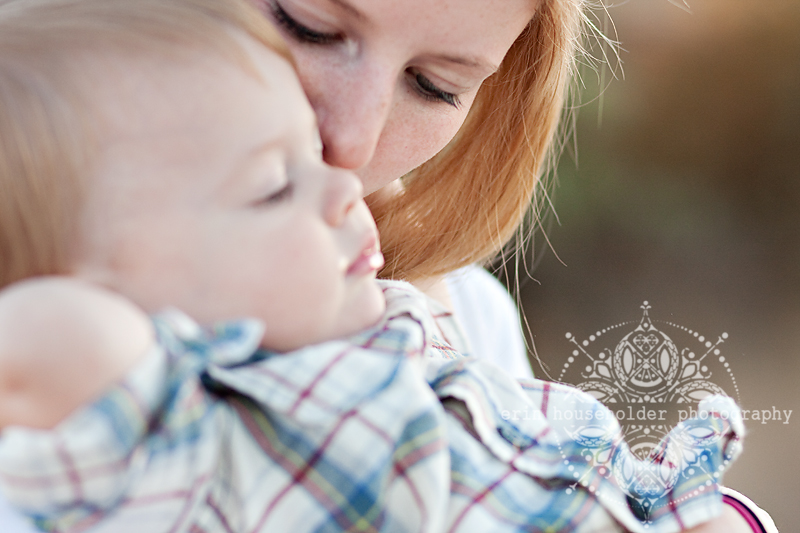
I got my 85mm 1.8 (new lens) in the mail today and this is the first picture I took with it. LOVE IT!! It's never coming off my camera.